I’m Board!

As an artist who travels a lot, I have begun to realise just how important it is to have props that work (when you need them to) but also that they fit in a luggage case, don’t take up too much room or weigh much. And most importantly, will arrive safely to places where you will perform, no matter how far that journey will be.
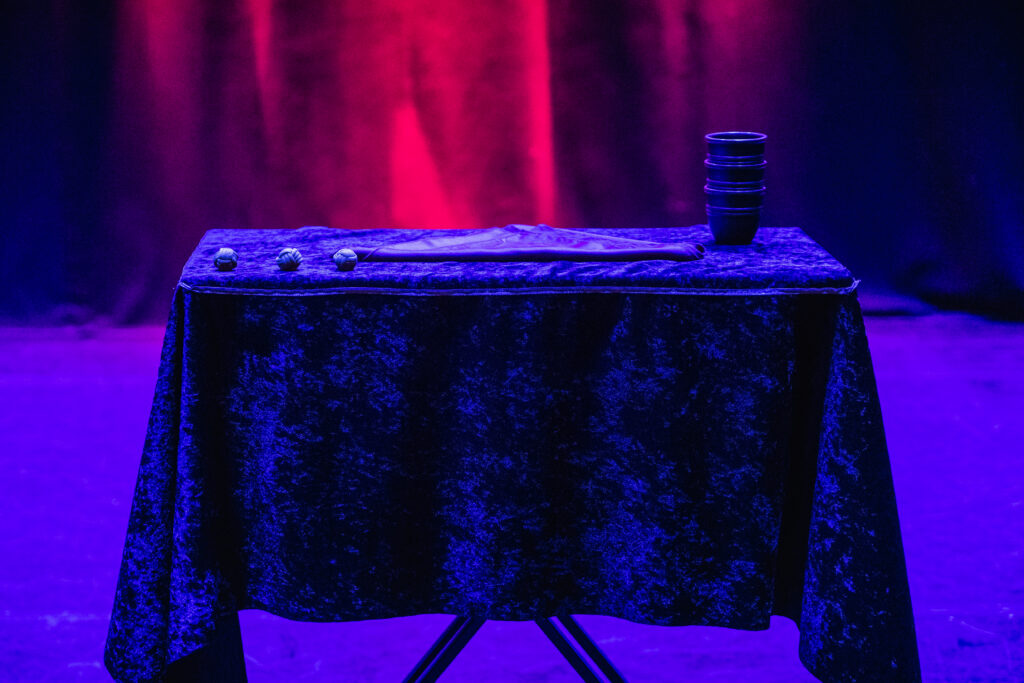
One of the props I really needed to find was a table. As a magician, tables are a necessary requirement.
Whether it’s to place your case and props on. Or for you to perform your effects upon, it is an essential requirement when performing magic (for most of us). As I was always hunting for the right table when I arrived to gigs on site I decided to take matters into my own hands and build one that I could travel with.
There is a saying, “don’t fix what isn’t broken” so I searched for inspiration around me and realised that this puzzle hadalready been cracked and solution found.
Tom many years age decided to do the exact same thing I was now embarking on. Over the years, he has built many versions of his tour-able tabletop that is now perfect for the job.
Me being smart, I decided to equip his skills to helping me to do the same. Together we embarked on this fun project and with his guidance I built my very own tabletop.
Although I cannot go through all the tiny details I will do my best to describe the process.
Measure thrice then cut!
As I wanted the table to be as light as possible in weight for travel I needed to break the wood up into pieces. Firstly in half (down the middle). And secondly, in its construction i.e. the inside would not made of a solid block of wood.
Let’s take a look at the image below. (All measurements were chosen specifically for my own personal use and if you wish to make one yourself feel free to use this drawing but with your own specifics).
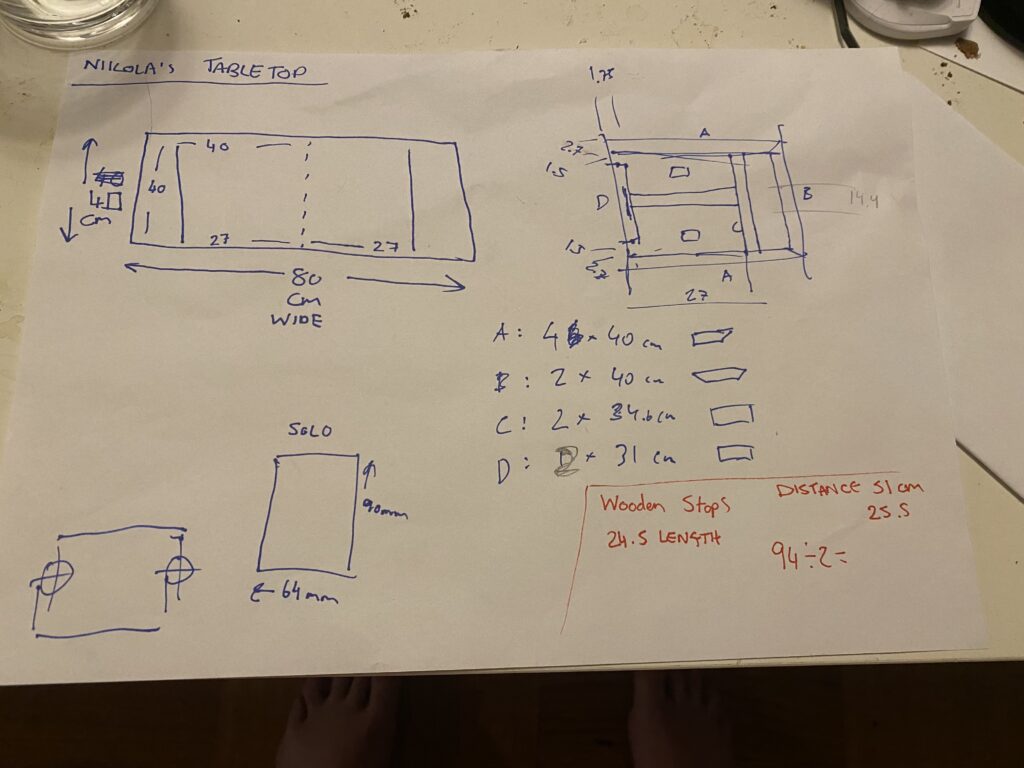
The first drawing (top left) shows the table split into to squares or two pieces. The second drawing (top right) shows it’s inner construction. Essentially, each side is made up of two thin flat pieces of plywood sandwiching rectangular cubes or dowels in between to give the table depth (see image below of open tabletop without bottom on).
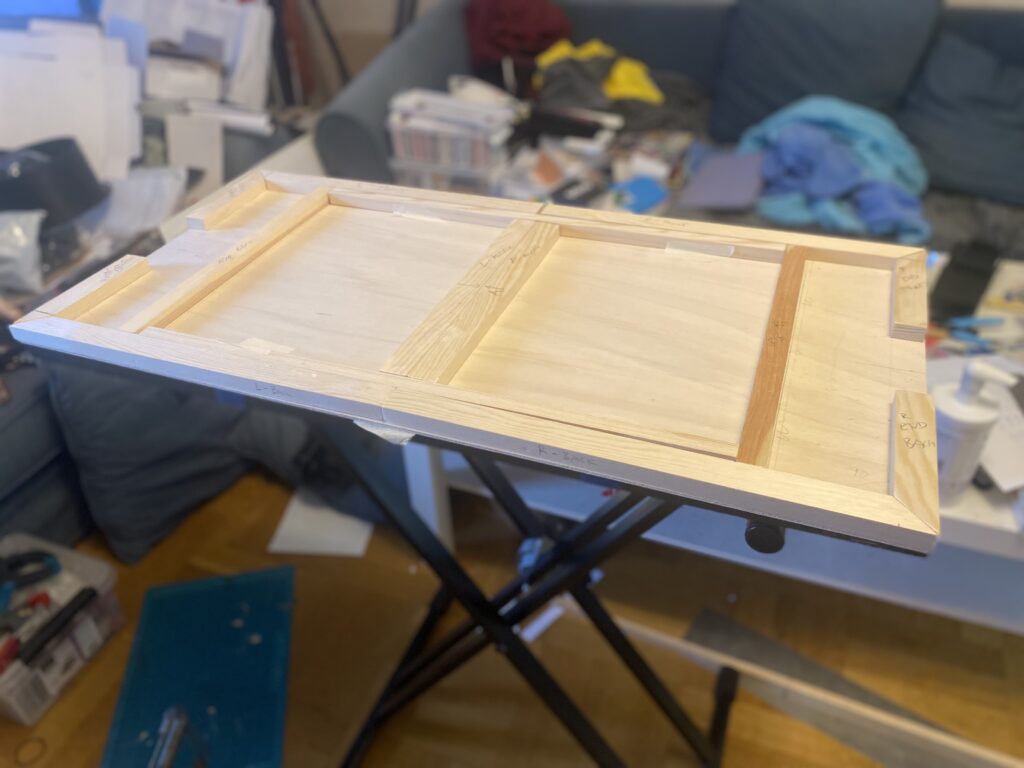
In order that the two part of the table connect together into one solid piece you will need to leave a gap for two dowel rods to slide into both sections. In the above image these dowel rods are held in place with masking tape top and bottom middle section. Also see the images below to give you a better idea.
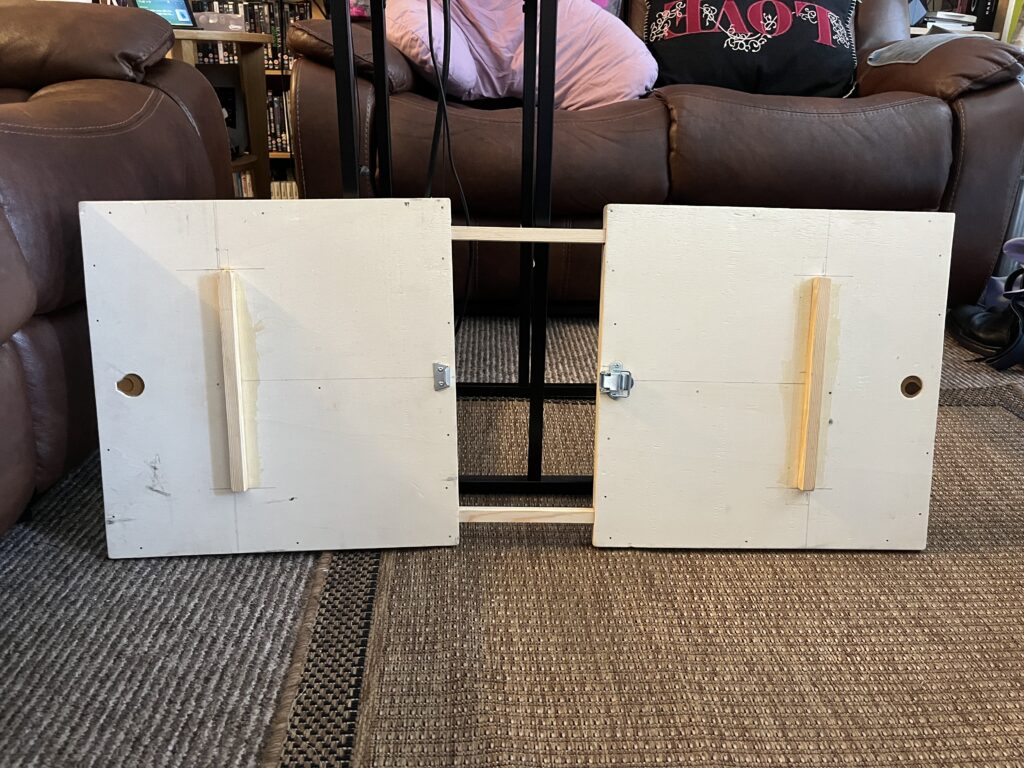
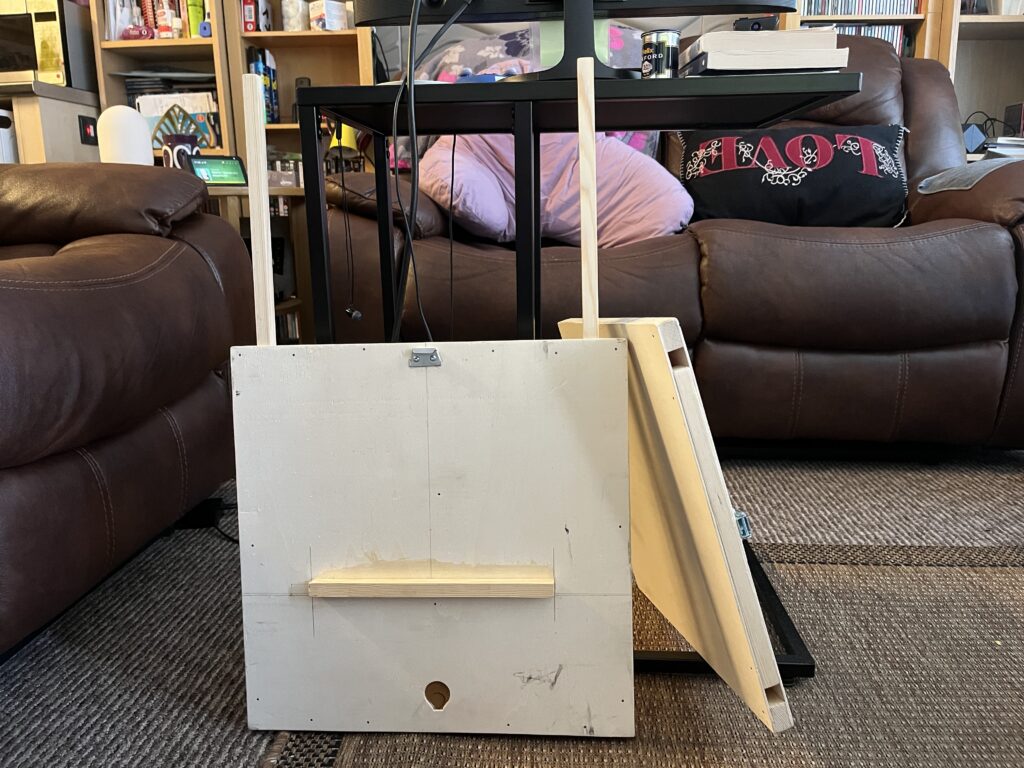
A clasp is placed in the middle.
To join the two sections you just insert the two dowel rods into one half, slide the other half on top and latch the clasp together. The tabletop becomes incredibly sturdy thanks to the clasp and joining rods in between.
Personal taste
As I perform different routines to Tom (the original designer of this table top) he asked me when we were building this if I wanted to add any personal touches to the design. to which I replied “Hell yes!” One of the things I chose to place into the table was two wells either side of the table for SOLO©. (The best sound cuing system in the world right now https://www.solosfx.com).
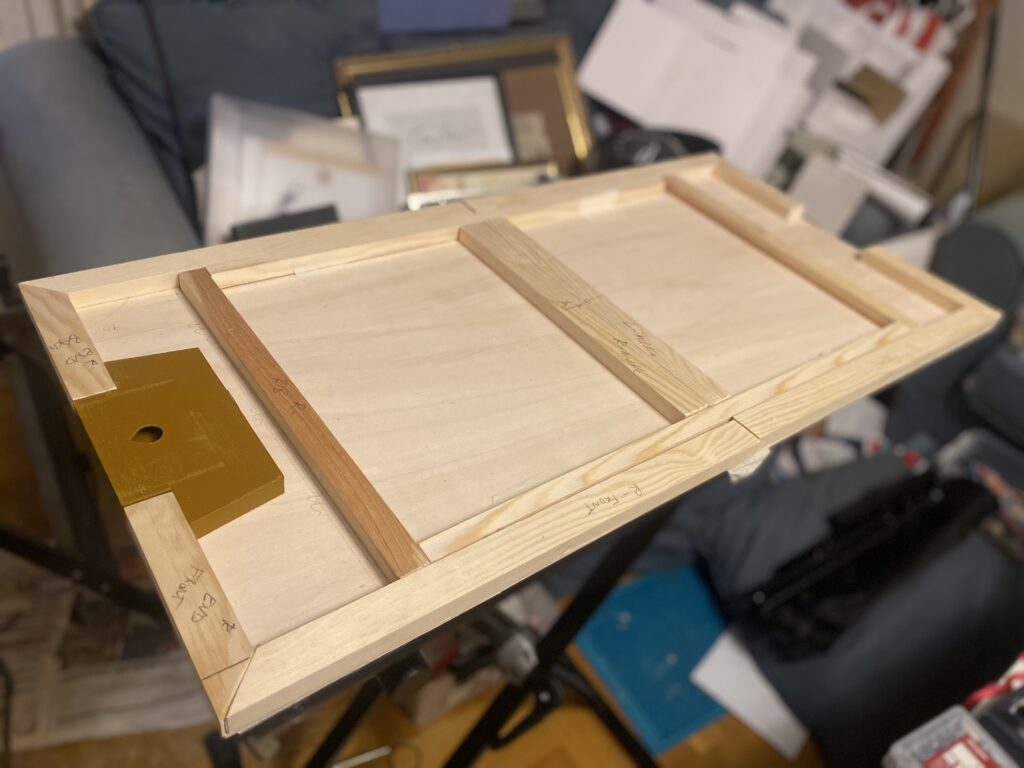
We measured the SOLO© device and then designed and 3D printed a model so that this device would fit neatly into the tabletop and be stored safely during performances. It was Tom’s idea to put a well on both sides to allow for versatility in performance.
Finally, I decided to glue on two rods underneath the table top to help with alignment and stability when placed on the keyboard stand.
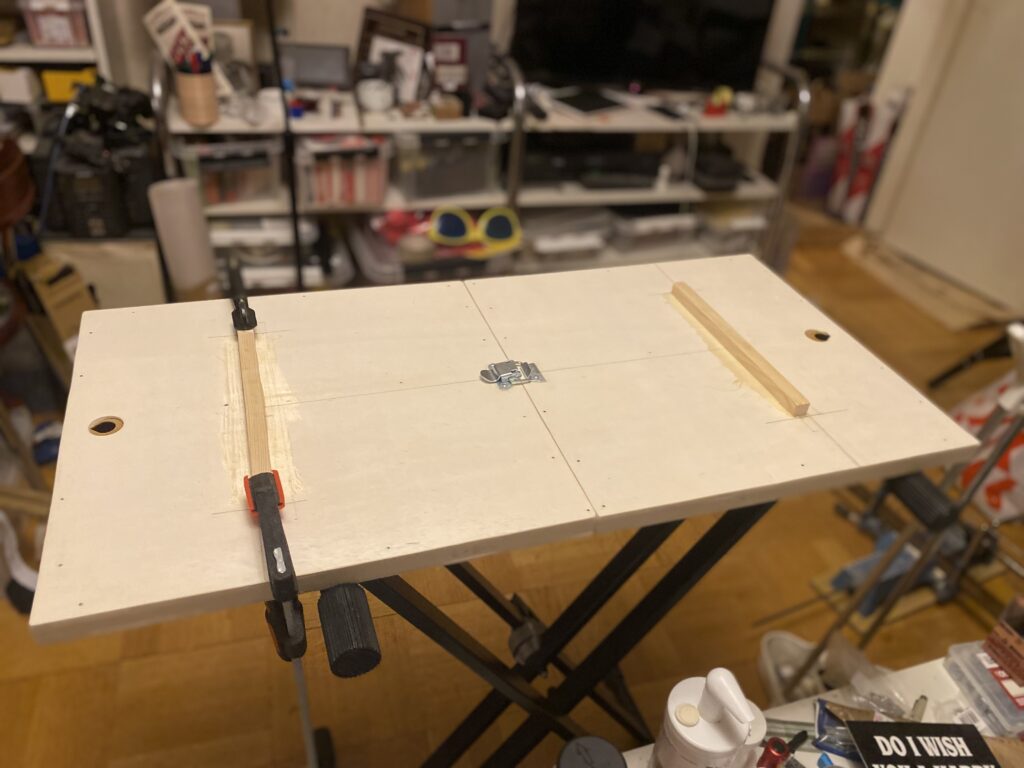
On that note I used all sorts of glue in this project from wood glue to super glue, epoxy and contact glue. Use common sense where glue usage is concerned. And allow proper time for each type pf glue to dry before moving onto the next stage.
I could have put many other gimmicks into it. Magnets, thread, a servante etc. But I chose to keep it fairly simple as since building this table I have come up with a design for a stitched servante’s that can be packed flat into my luggage.
Really once you have this tabletop design it really is up to you where you take it.
You can do it if you put your mind to it
In this project I managed to solve a problem. Was it easy – no way! And before I built this part of me thought that I would never be able to. I didn’t believe in myself.
Thinking “I will never solve this problem” or having a negative bias is not a good way to begin any project. I am learning as i go through life to enjoy each problem I find. I now am training my brain to think “if I could solve this problem life will be awesome!” Then in my mind it feels more worthwhile. It’s just a small change but a good one.
Learn how to enjoy our problems. Nothing is set in stone. You just keep on going until you do what you set out to do. And like me you might surprise yourself along the way, I sure did.
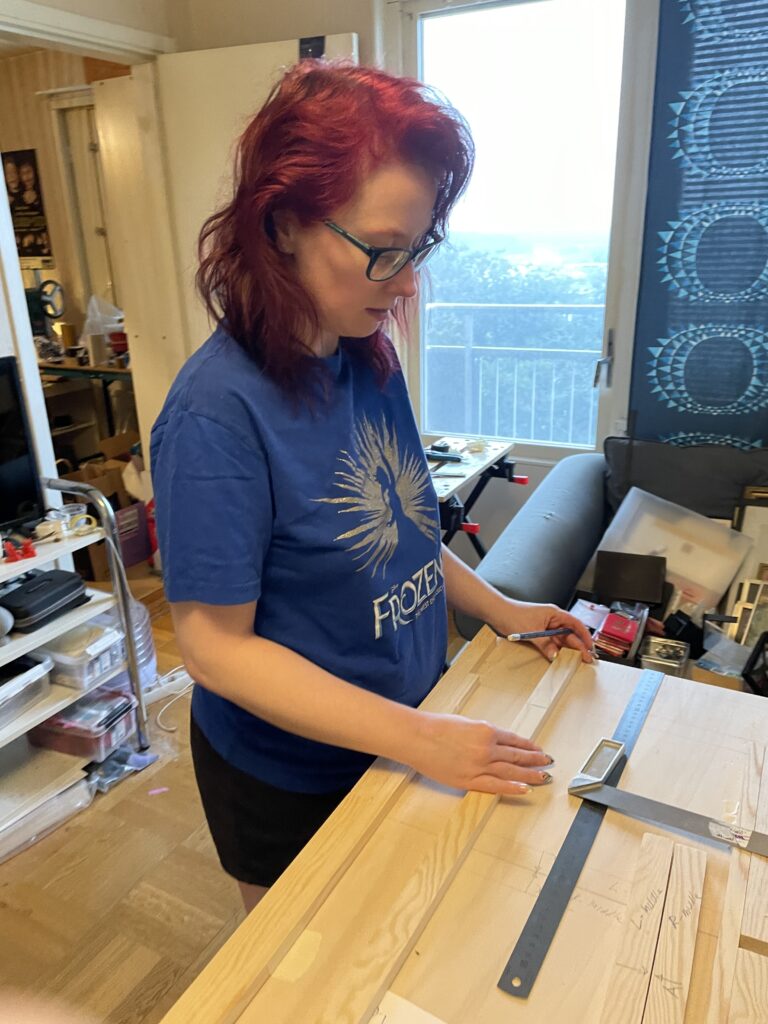
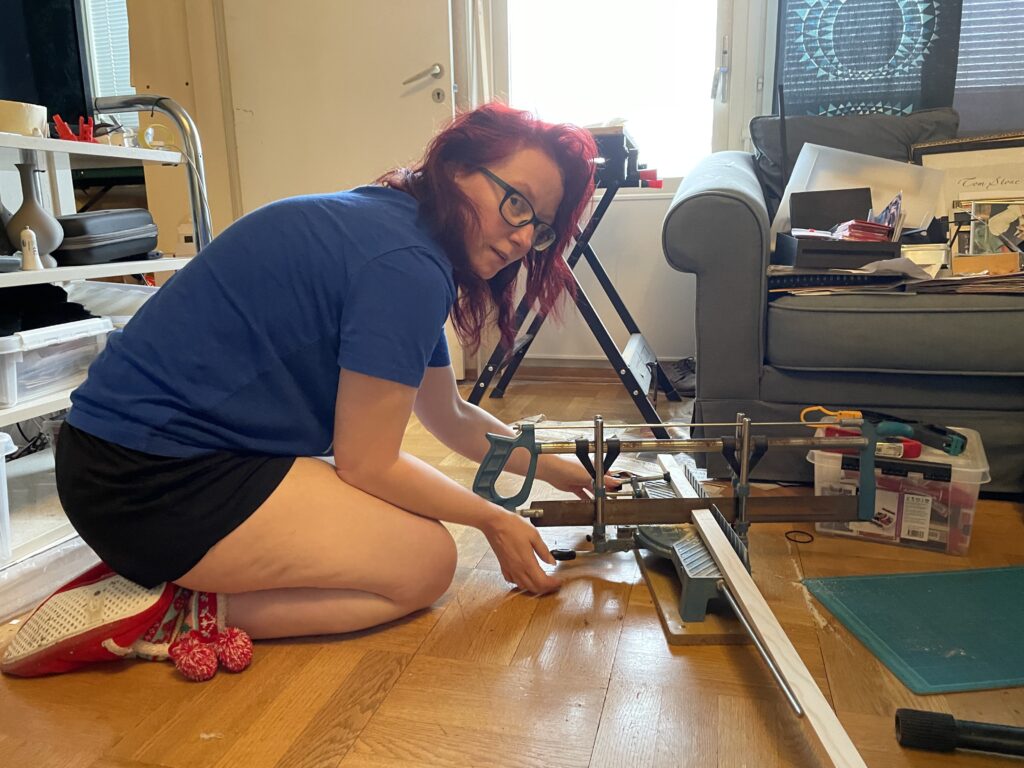
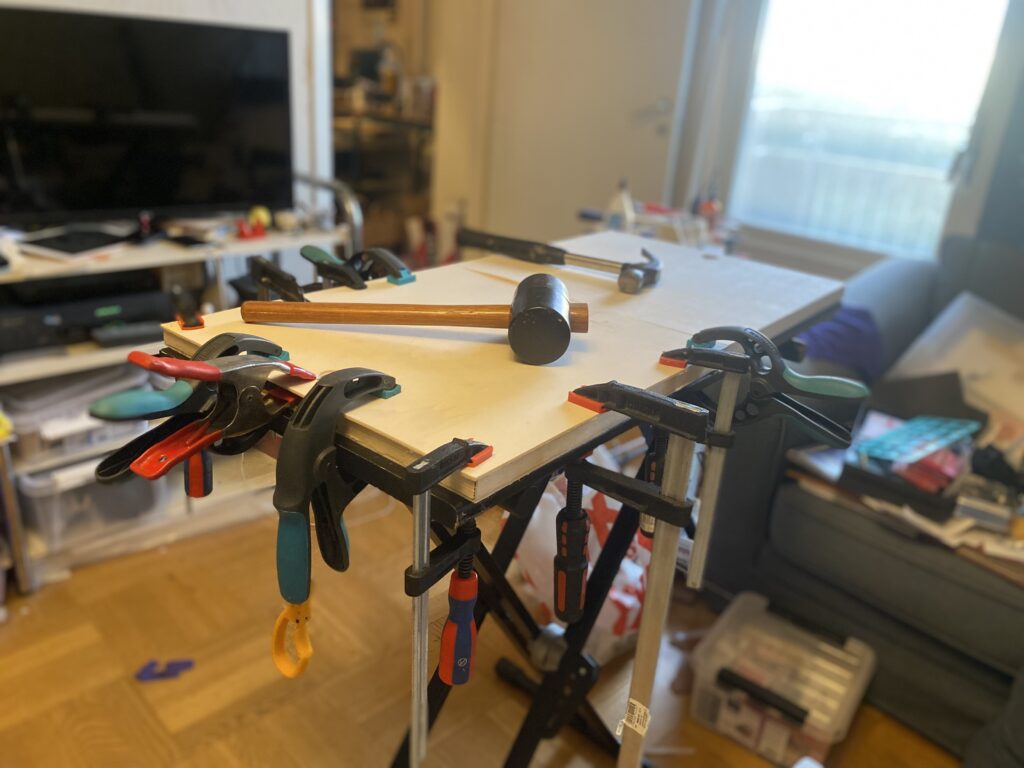
Building this table I had to measure, saw, glue, design, hammer, use so many tools I had never used before. I had to be precise as hell and take my time because if I wasn’t the table would not fit together and I would have to begin all over again.
Sometimes it’s fun to take a break from practicing magic and have a project that is all about making. It requires a different mentality and headspace and it works in partnership with magic practice beautifully.
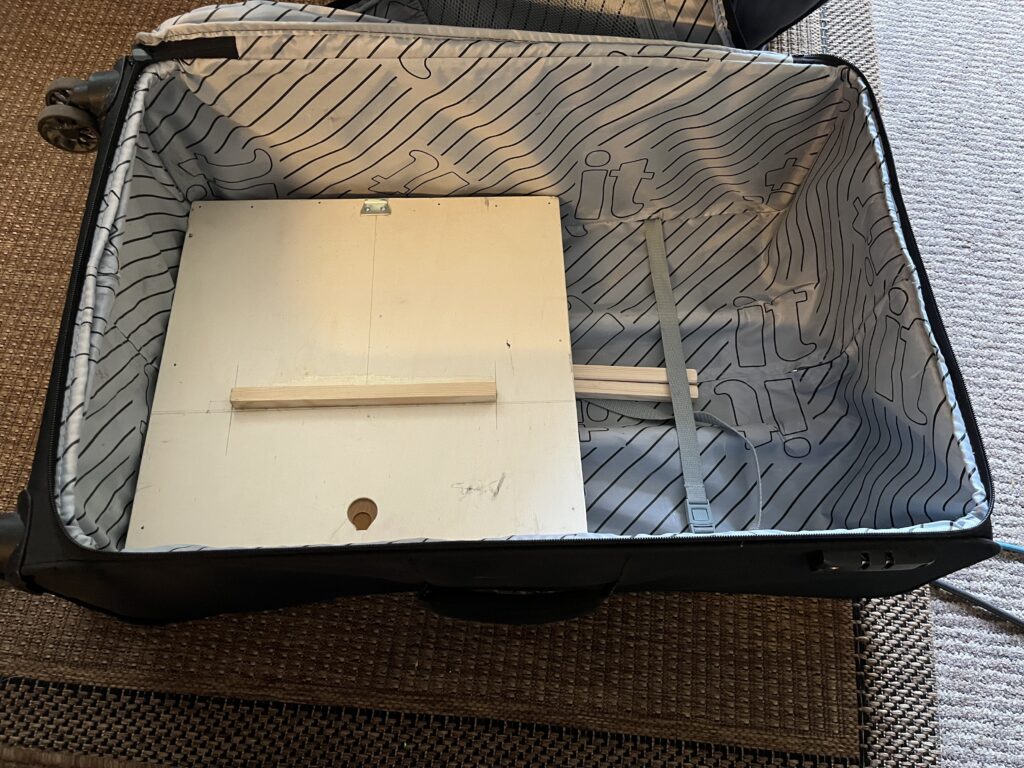
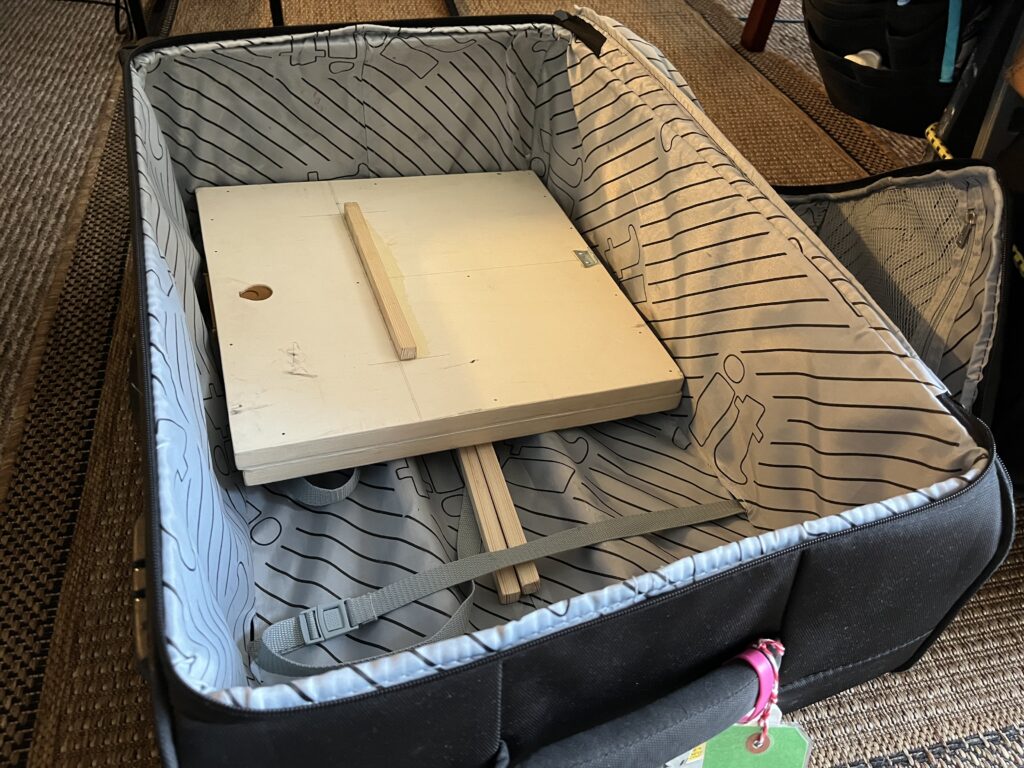
In total, building this tabletop was a four day project. And this is how much room it takes up in my luggage and it weights almost nothing.
And now I am having fun designing and making various table cloths for different projects.

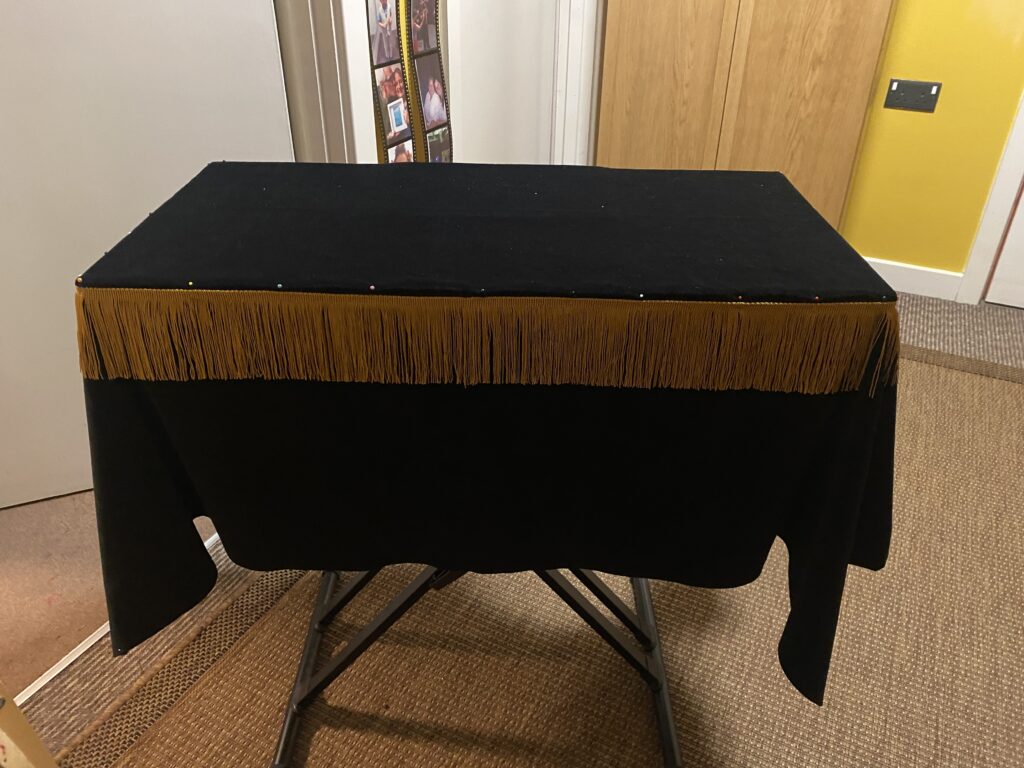
This project has opened the doors to me feeling comfortable as an artist travelling the world with my props but also I have been able to perform new magic with the help of knowing I have the correct tool for the job available to me now.
So at the end of this blog I suppose the message is that you can and should build what you need to make life easier as an artist. But in order to do this you must do the research and find exactly what you need. Creating your tool with your unique specifications. The knowledge learnt in a project like this you cannot buy in a shop. You must build it yourself to gain these tools and ultimately master your craft.

Having seen your table in action, I must say its an eye-opener how much a well-designed table adds to a proper stage/parlor setup!
Tables have been the bane of my existence! Sometimes the table weighs more than the act!