Picture Perfect
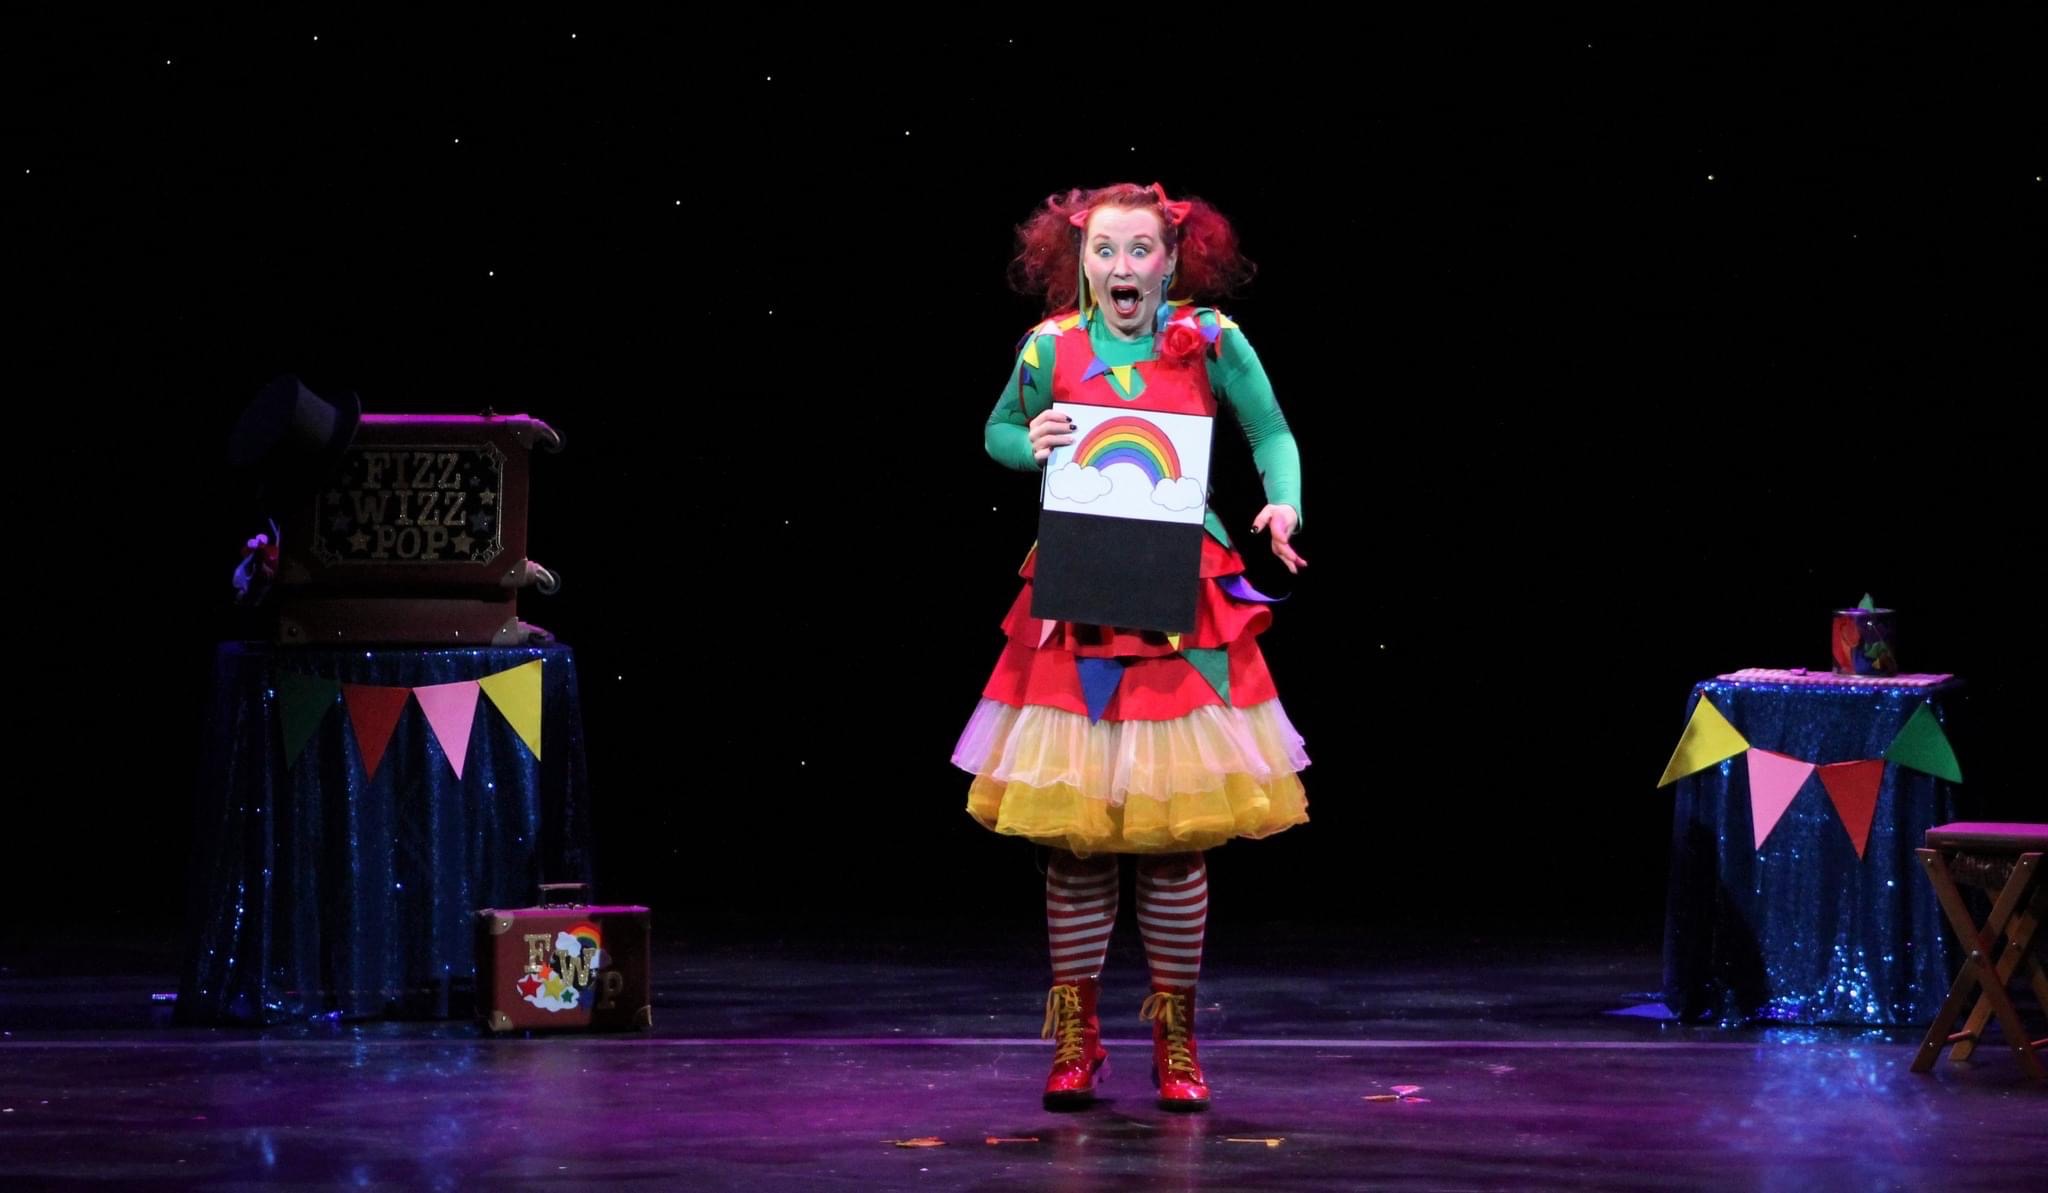
This Halloween I was asked by a group I do a lot of performances for would it be possible to provide an hours magic workshop for them to take part in. This particular group is one with varying degrees of ability however there would be leaders available on each evening to assist.
So far in my career I have been reluctant to hold magic workshops for several reasons. One of which being the HUGE amount of exposure online that is literally killing the magic for people. But also I have found in the past that it’s difficult to gage the right age to engage people in the learning of magic.
Of course one could argue it is when they show genuine interest. However, I think it should be when they can comprehend the concept of what magic is.
***
Magic involves gaining knowledge of a secret that has been passed down for generations. And often the ‘method’ is a disappointment for any student – at first. If real interest in this artform is apparent then the person learning the effect must practice it to make sure in performance the trick works flawlessly and is not exposed.
In order for magic to stay magical the secret must be kept. People wishing to learning magic have to agree that they will keep the secret. And be mature enough to respect it by not easily giving it away when asked by others how it was done.
I know not everyone will agree with this but hey ho it’s what I think and it’s my blog!
Exposé
There are so many people now exposing magic online.

And they haven’t even the faintest idea where the tricks they are literally ‘giving away’ actually come from.
Who originally came up with the idea and why?
I believe when I decided to say yes to do this workshop I realised I had to learn more about the effects themselves first. So that I am fully equipped to impart that knowledge correctly to them. That the people taking part in building the tricks have a foundation of where they came from. It’s not just some trick found on the internet that has no meaning.
When teaching or learning magic it’s important to remember that a person, actually sat and thought up these amazing ideas. Then they decided to share them with the world. And for that, we need to be thankful but also treat the ideas with respect.
My first magic workshop set list
So my search began to create material for this workshop. Effects, that I could meaningfully teach to a group of young people. In searching for material I remembered a massive pet peeve of mine occasionally when I see them. MAGIC SETS!
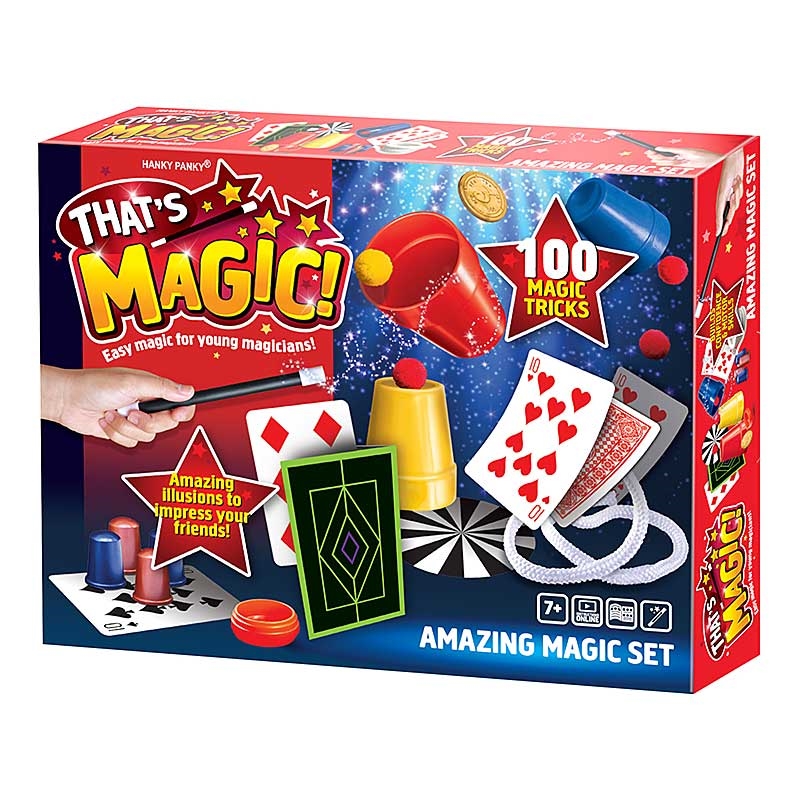
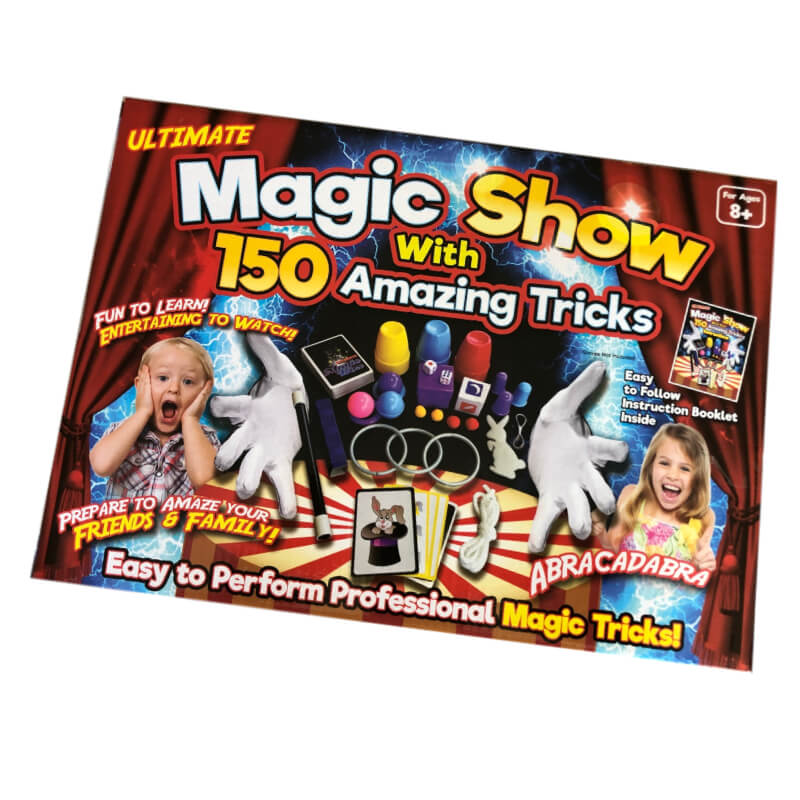
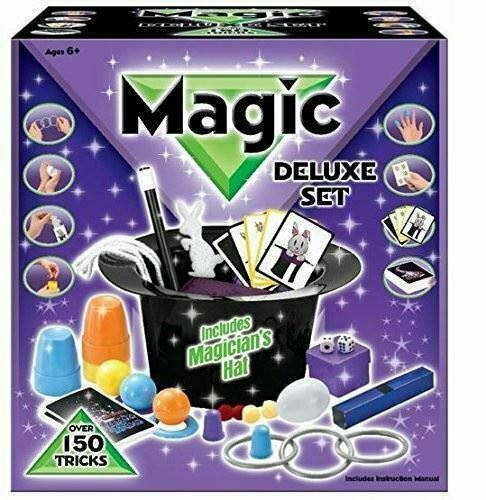
I’m not saying they aren’t brilliant I mean look at the effects above. However, I believe over 100 tricks is overwhelming for a pro, let alone for children and I think it is better to learn one trick really well than having all these tricks in a box which you can barely understand let alone perform them all.
Speaking of which, magic set instructions are awful! Don’t get me wrong, explaining magic is difficult but the instructions need to fit the purpose they are designed for – to teach CHILDREN magic, not Einstein.
Finally plastic – THE PLASTIC!!!
And yes, some could argue then that the internet is a better place to learn because you can see visually how these tricks work without reading them. And that might suit some people. But the best way to learn magic is by using all resources.
For me, the best secrets can be found written in books. And if you really do wish to start I highly recommend this book below.
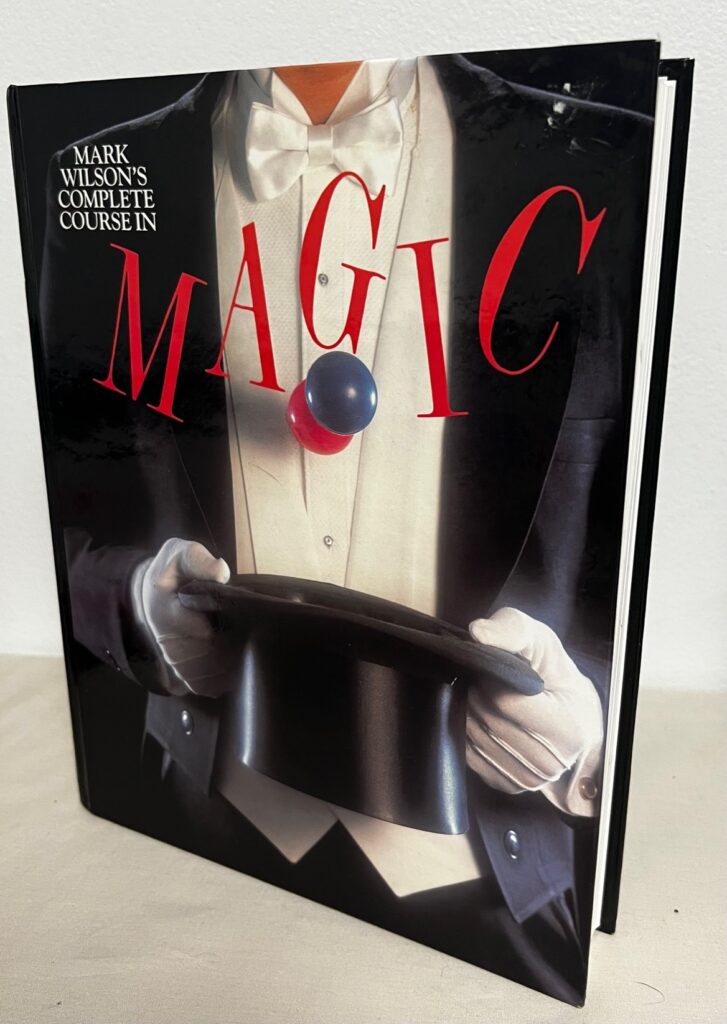
Where to begin?
I opted to find something for this group that wasn’t the usual “magic set” material nor was it the “stuff you can find at home” kits.
I want this group to leave my workshop feeling empowered. Excited to look at and do these effects themselves.
What would I like to learn?
I found myself thinking; if I was in their position and wanted to learn magic, what would I like to teach myself? And how can I make them as simple as possible removing all difficultly in terms of move-set, yet still give the feeling of something really magical occurring.
I began to look for tricks that had these attributes;
-Visual
-Not difficult for struggling hands
-Instant reset (where possible)
-Fun to perform
Having just an hour to teach (as it is in the real world for professionals) and for the group to make up the tricks themselves, I settled on this set list.
- The automatic expanding magic wand. I’ve tried to find its origin but alas I am at a loss. If you know please let me know!
- A simple switch using a self-folded double Envelope. Magicians think ‘Buddha envelopes’. I cannot believe the idea of switching an object using folded paper was first written about in The Discoverie of Witchcraft in 1534 – so cool!
- Finally a version of ‘The Visible Picture Painting’
As it’s halloween, I thought it might be nice to make this blog that is both a Trick and a Treat.
I intend to teach you, my readers how to make your very own Visible Picture Painting breaking it down so that you to can make one for halloween. But before I give you access to this awesome trick I’m going to begin with the trick part and delve into this effects history so we can discover where exactly the idea came from.
The Trick
The whole effect seems to be inspired by Supremes Instant Art which apparently was released in 1965.
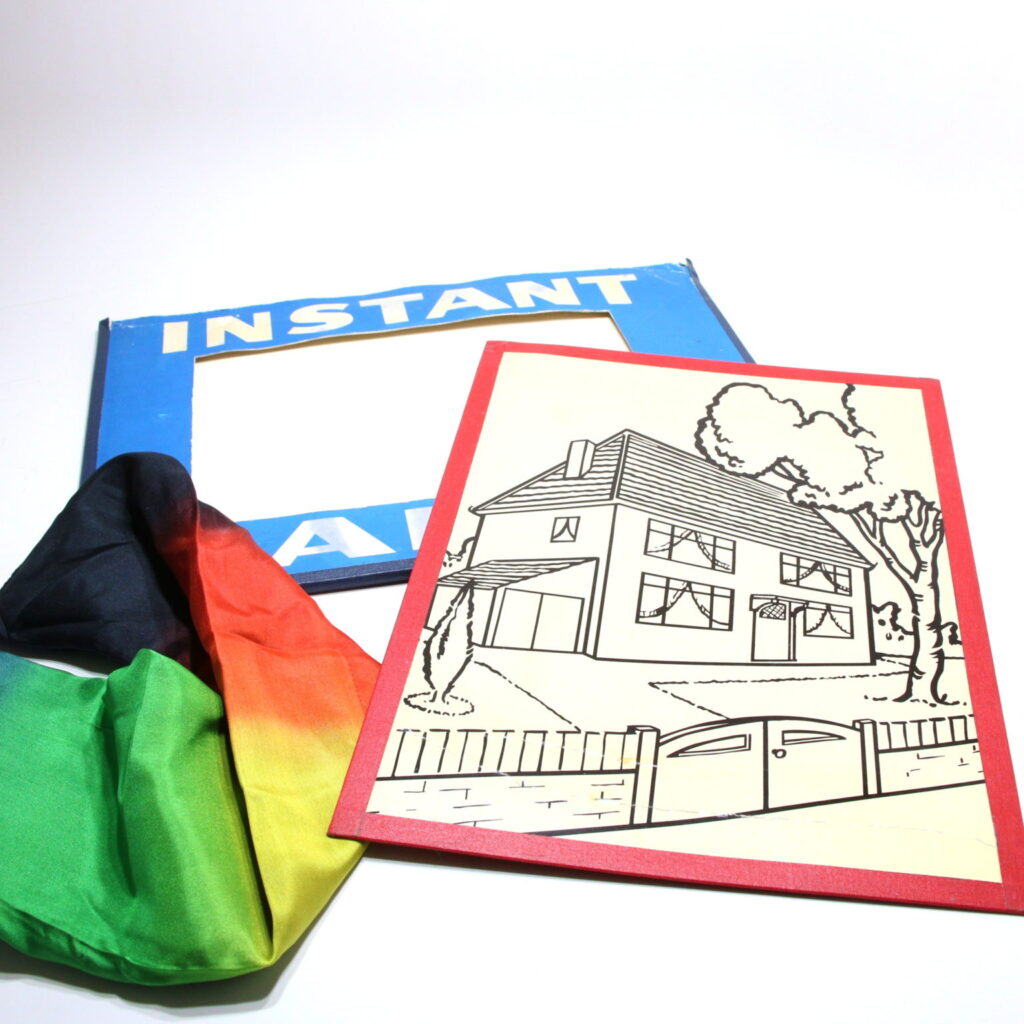
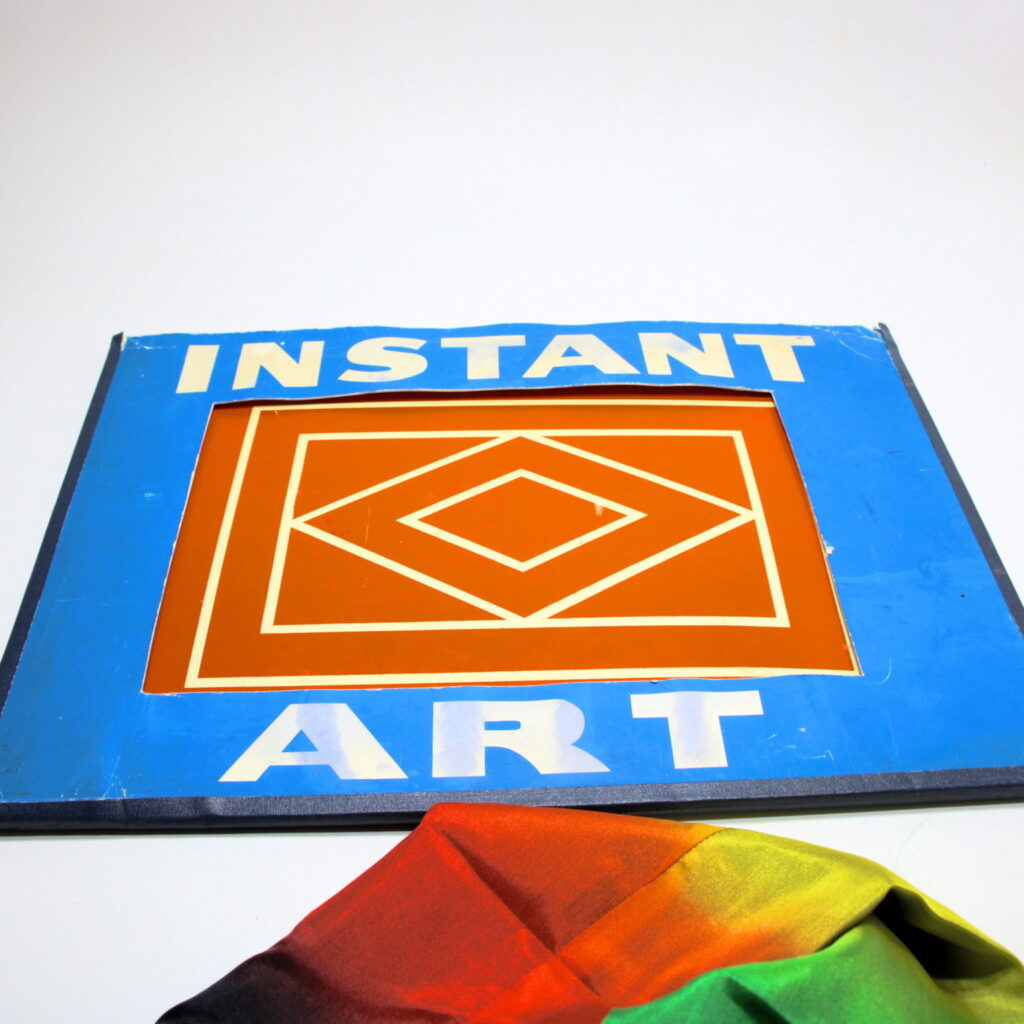
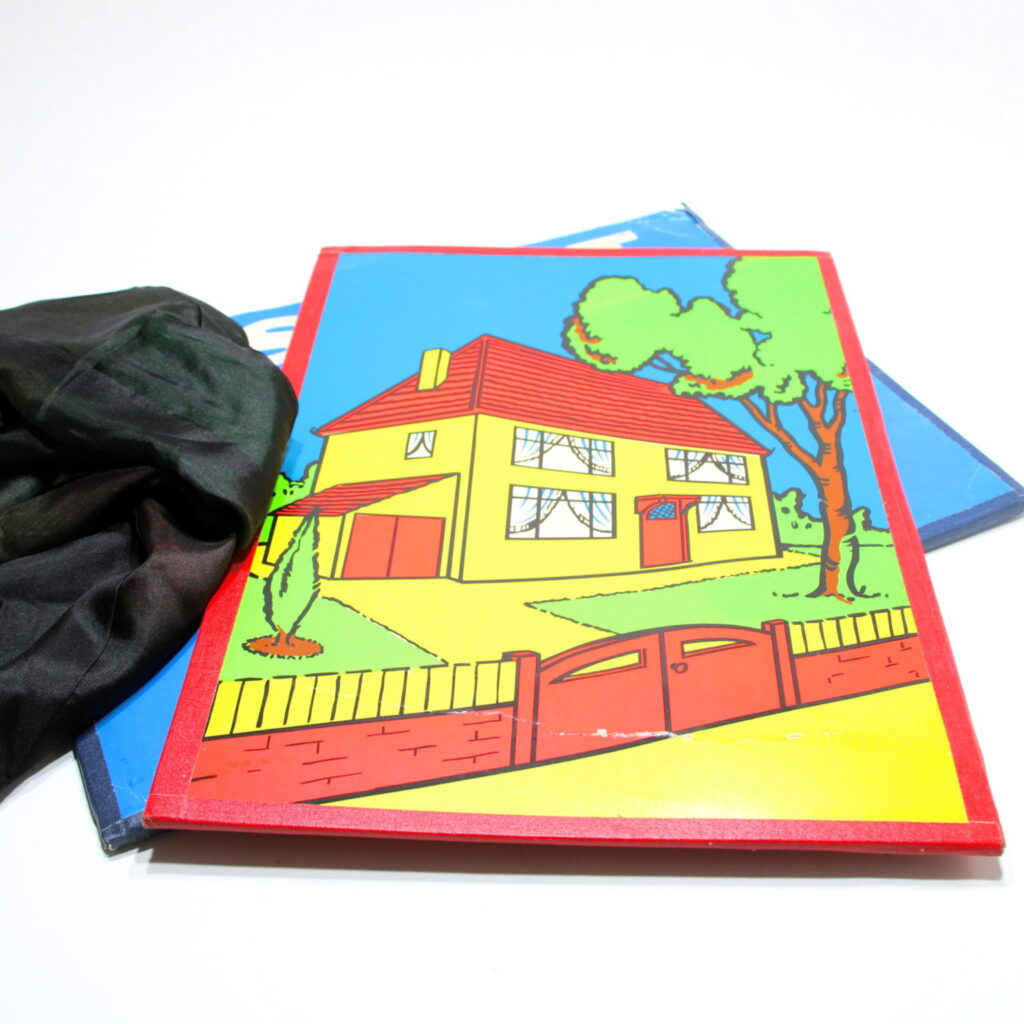
It is often confused with John Breeds’ Visible Painting. The effect is similar but Breed’s Visible Painting is much cleaner and more impressive which is why so many have incorporated the Visible Painting aspect into their routines.
In Supreme’s Instant Art although the back of the picture is always in view, they don’t see the colours change visually. When you compare the two approaches there is no contest. But Supreme released theirs first and it was very popular for many years.
The original version that Supreme released came with an artist’s palette with the colours vanishing, and was later released c. 1977 with the colour changing streamer instead.
Visible Picture Painting
Then in 1967, John Breeds created his own version when he was a technical training instructor teaching colour TV principles; the effect was a visual aid for his students. He called it Visible Picture Painting. This was first produced by Geoff Maltby from Repro Magic. There’s an ad for it in Club 71, December 1984.
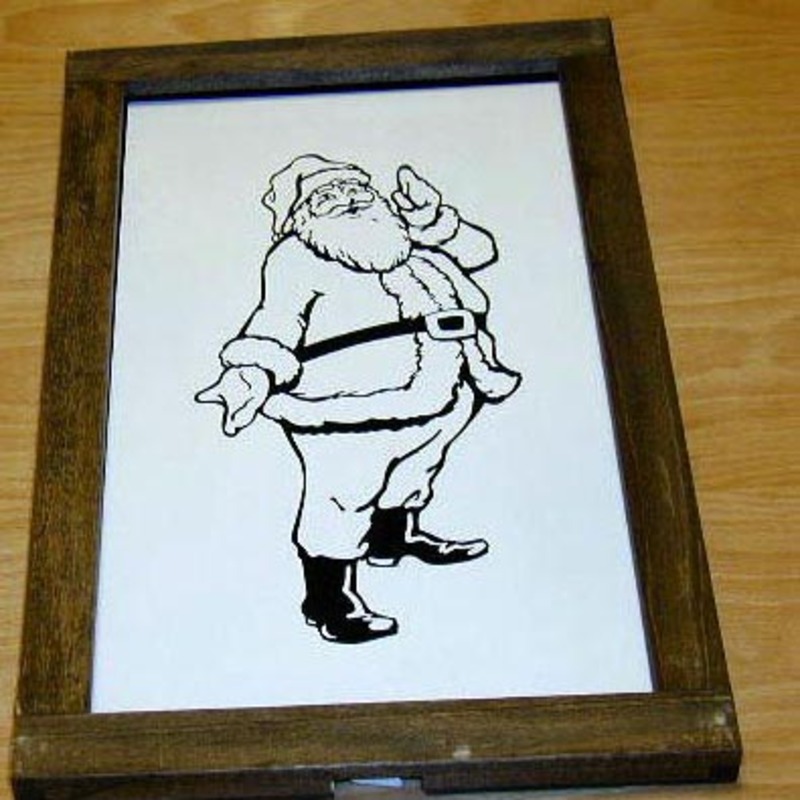
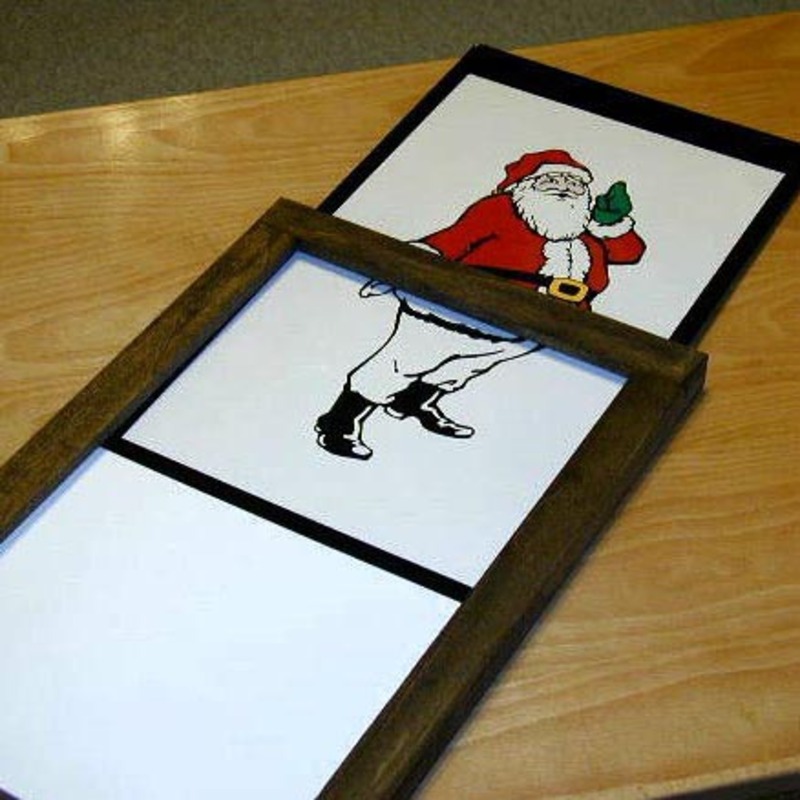
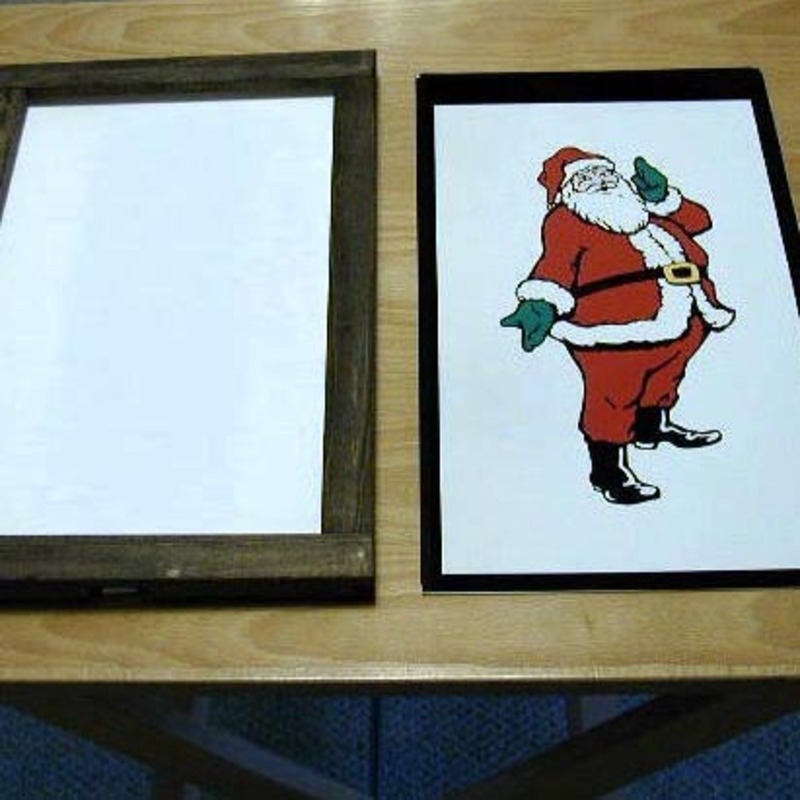
Here is the forward of the original instructions.
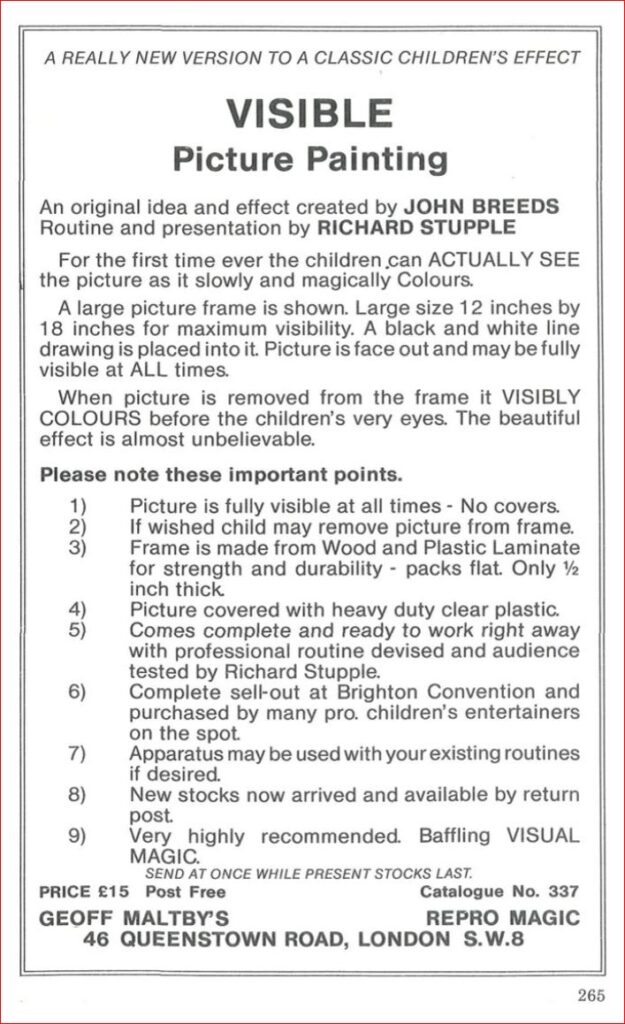
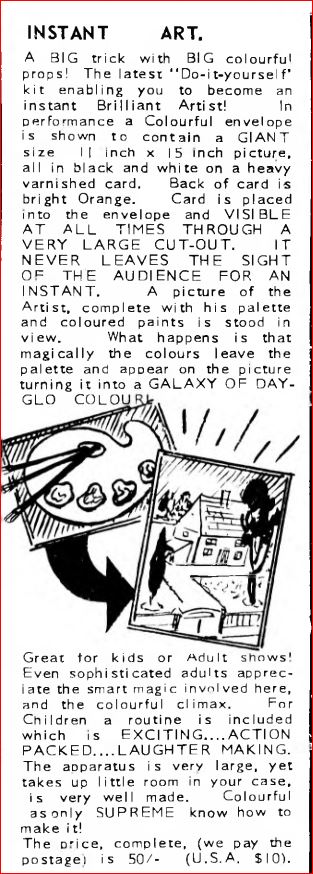
Effect: Black and white drawing changes to dazzling colours and magical transformations take place as you lift the insert out of the frame. The wooden frame looks like a real picture frame and the bright large graphics look amazing.
This is the performers dream effect. Outstanding visual magic! Packs flat! Plays big. Priced right!
John Breeds details this item in his book: How To Create Kids’ Magic and Triple Your Income!
The Treat
I think this is a great trick to teach in workshops as it meets all the criteria I wanted above. It’s visual, instantly resettable, not difficult to perform and it give’s instant satisfaction, it feels really magical even thought you know it’s secret.
I wanted to simplify this to make it as easy for my participants to make but also so they understood it’s construction and how the effect actually works. Which I have broken down below.*
*I understand some people wish to keep the magic magical. If you do not want to know how this is done stop reading now. Close the screen now and I’ll see you for next week’s blog.
You’ve been mooooooooooooood. I mean warned!
You will need all you seen in this image. which includes.
- 1 hand drawn picture coloured in or 1 printed image of your choice
- 2 coloured A4 sheets of card in different colours – you choose
- 1 white A4 sheet of paper
- 1 Clear PVC A4 binding cover
- 4 Paperclips
- A cutting knife and board. Scissors will do but I prefer my cutting to be exact as I am a bit of a perfectionist.
- A Ruler and a pencil
- A fine lined permanent marker – it must be permanent otherwise your art will vanish when rubbed.
- Regular Sellotape and double sided sticky tape – I like to use the roller ones. (Not pictured).
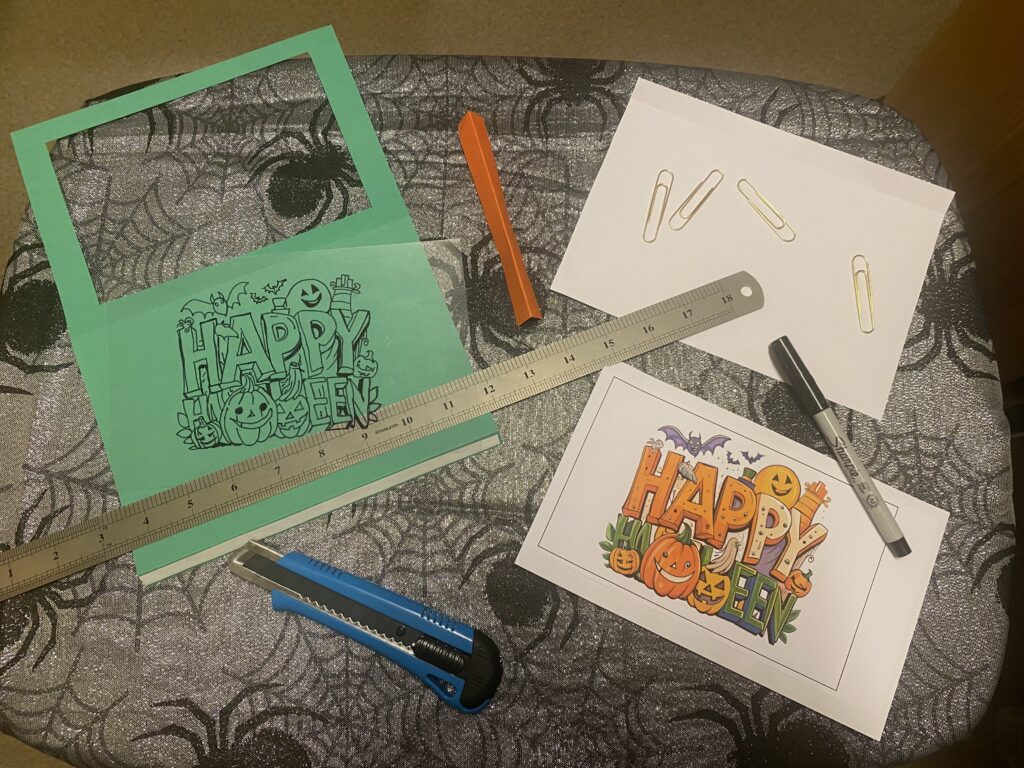
Once you have assembled all of the above Take the coloured card, paper, clear PVC sheet, your knife and cutting board and get to work! I have made a list of measurements below that I used to cut everything. It is just a guideline and you can make it up whatever size you like.
Measurements
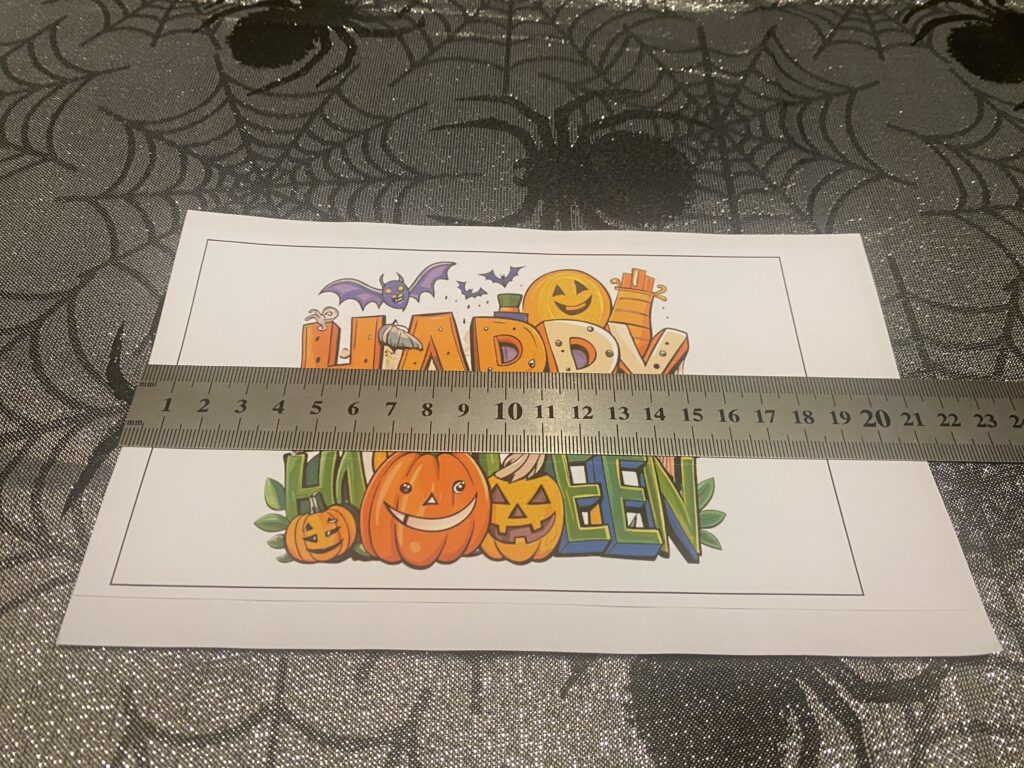
- Paper with Printed Image on it should measure 21 length 13 width.
- Image framed on the paper must placed between 1cm and 18.5 (see image above). Line Frame for image to be inside centre towards the left of the frame see above image.
- A4 PVC binding covers cut to same size as paper with printed image above. I.e. 21 length 13 length.
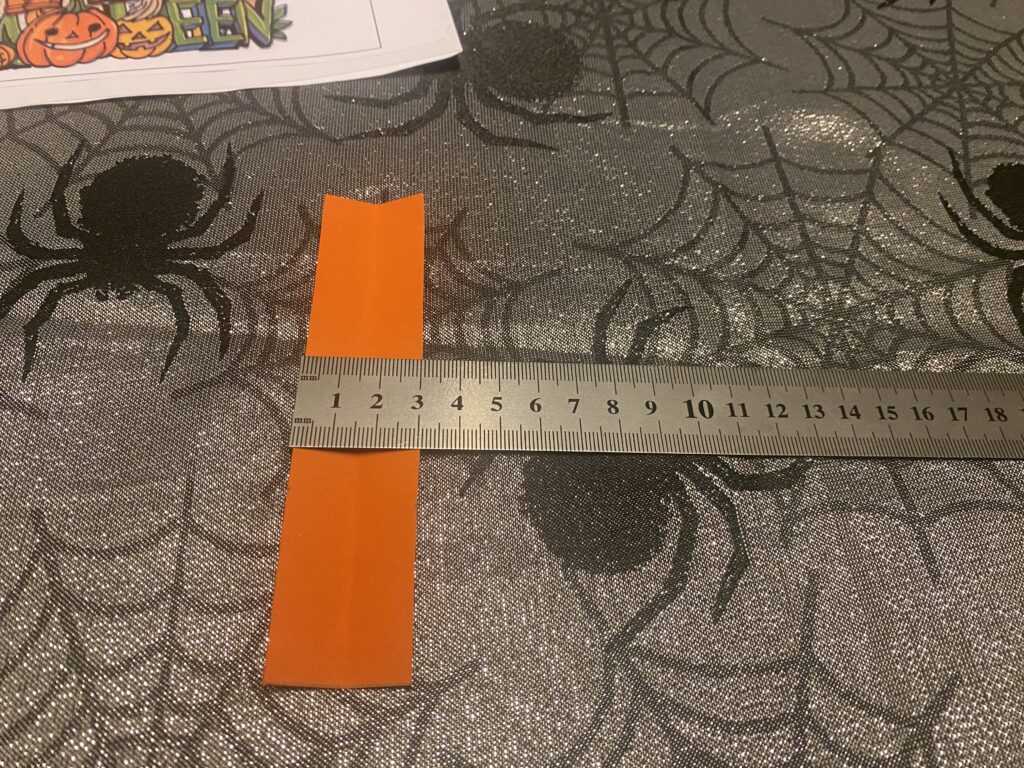
- One of the colour sheets is used to make the handle to manoeuvre image in and out of frame. The piece should measure 13.5 length 3cm. Matching the width of the picture printed image sheet above (13cm). You can cut of the access later when finishing it up.
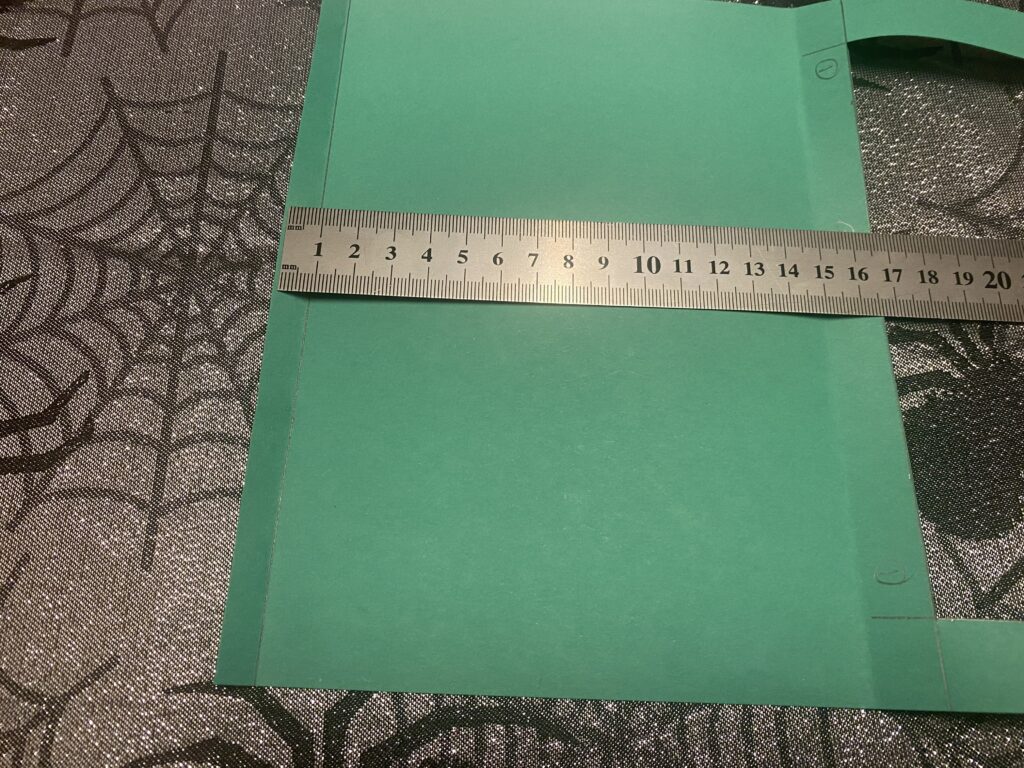
- One of the A4 sheets is used to make the ‘cover’ for the frame and must be cut to fit in this section of your frame. See images below. Which will depend on the size you make your frame. I will explain the cutting and making the frame in the instructions below.
Construction of the magic picture
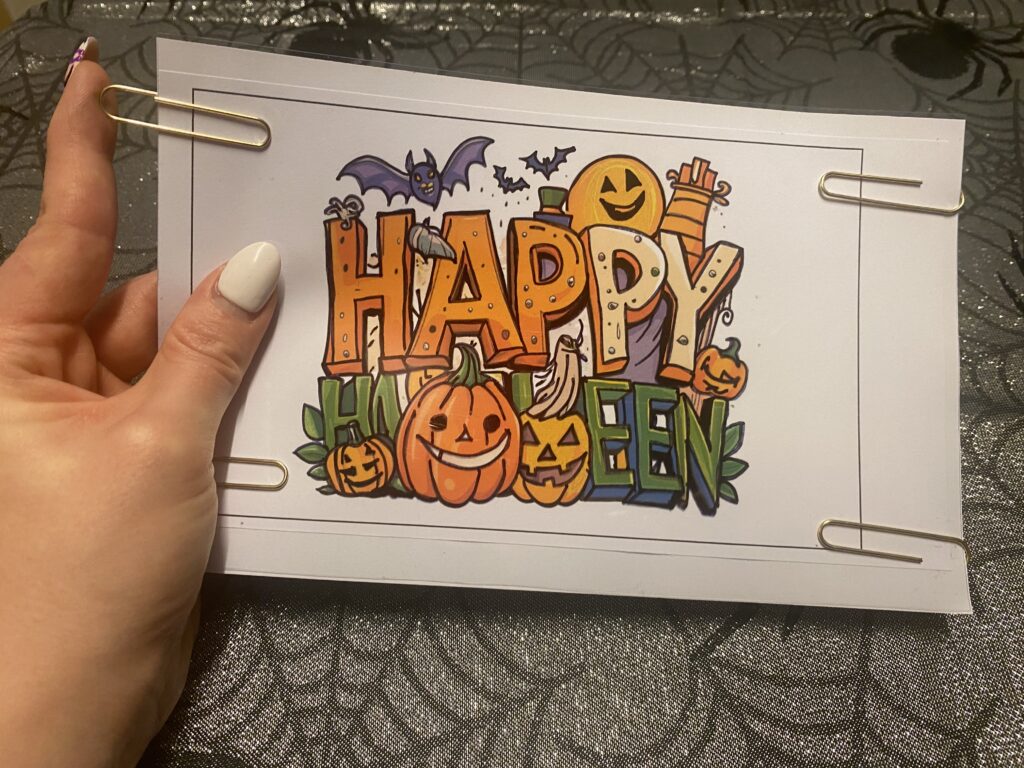
- Take your printed and PVC binding sheet (cut to size) placing the PVC sheet on top of the image.
- Carefully place paperclips on all four corners to keep the paper and PVC sheet together in place and trace the image with a thin line permanent marker. I recommend sharpie brand.
- Once complete remove paper clips and take some clear sellotape and carefully tape together the left hand sides. Both the image and clear sheet.*
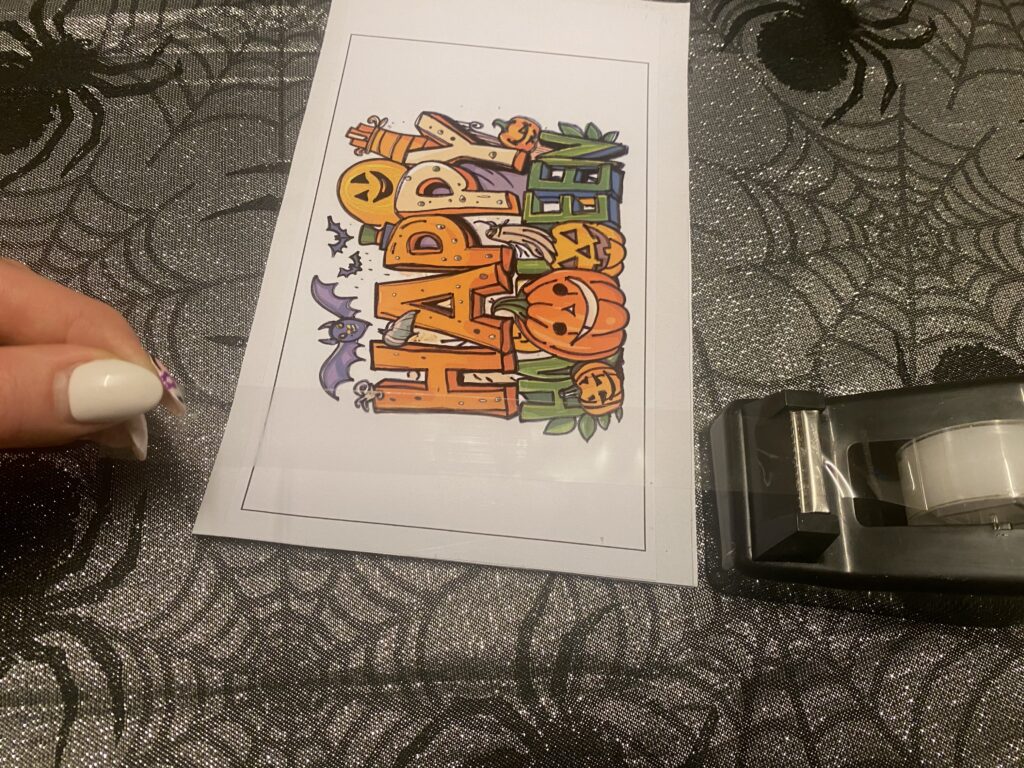
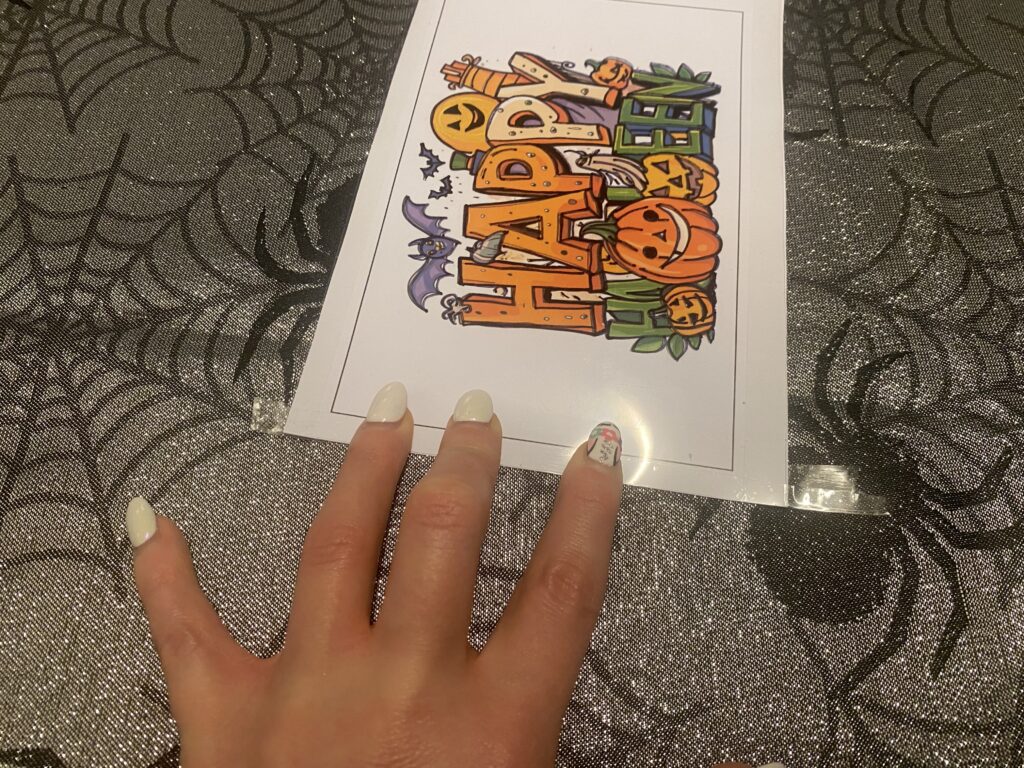
*Make sure before sticking together that the traced is placed on top in a position where the image matches the one below it.
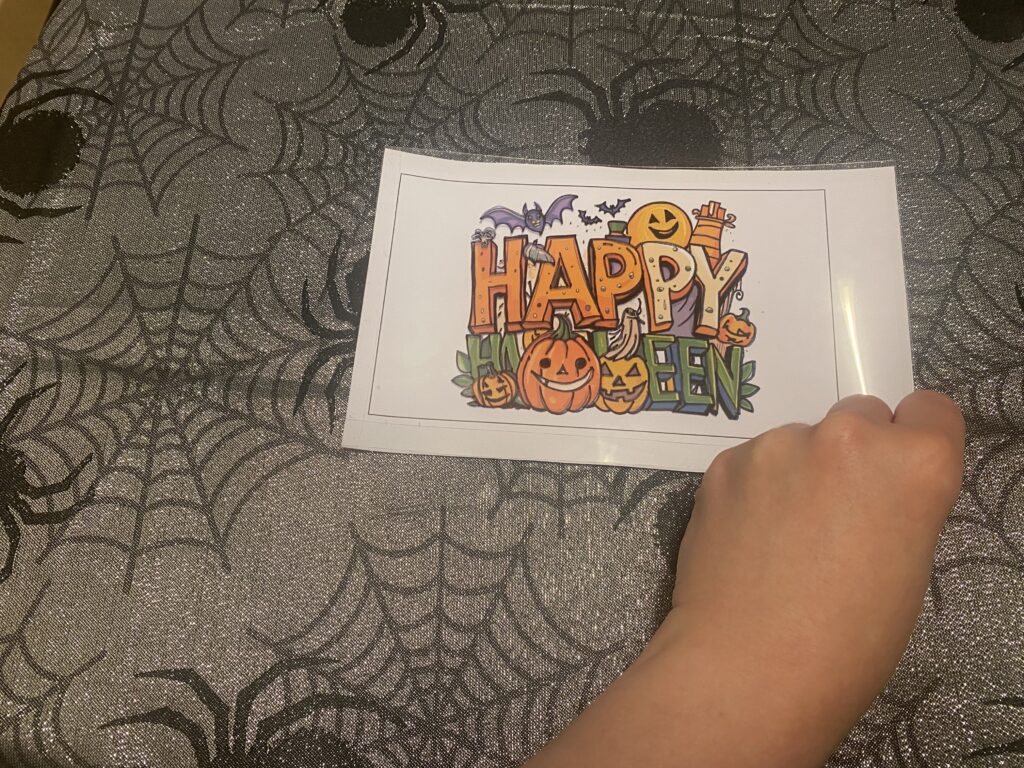
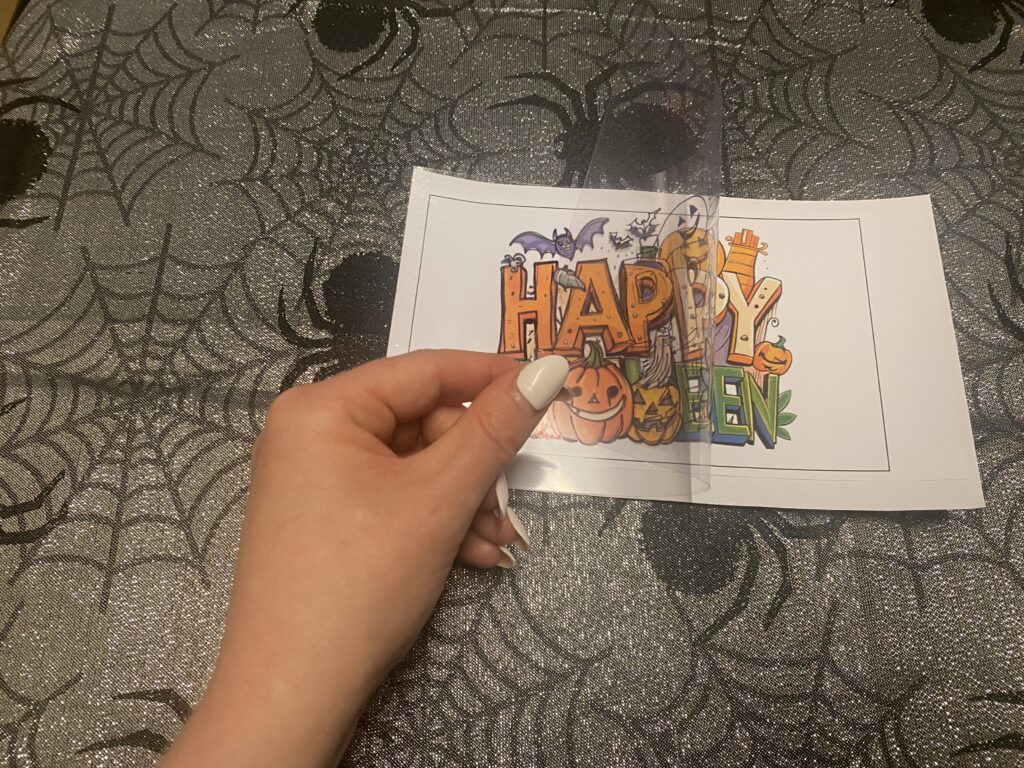
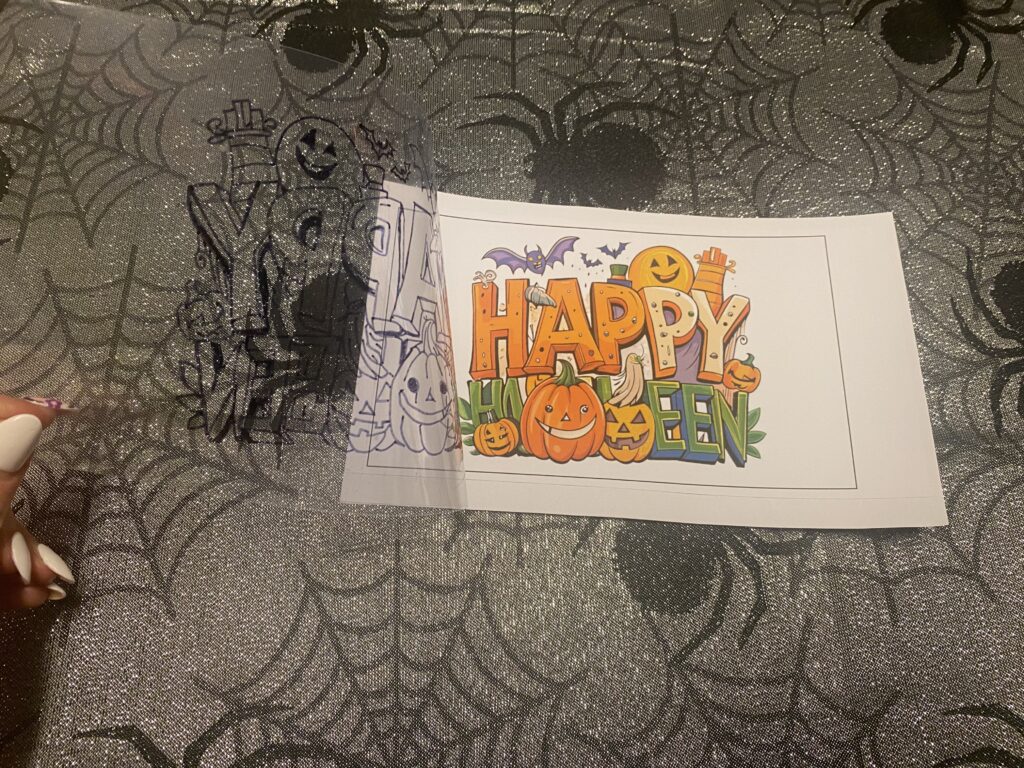
It should look like opening a book. See images above.
- To complete this section the cardboard rectangle you cut out for thehandle. Fold it lengthwise in half. See image below.
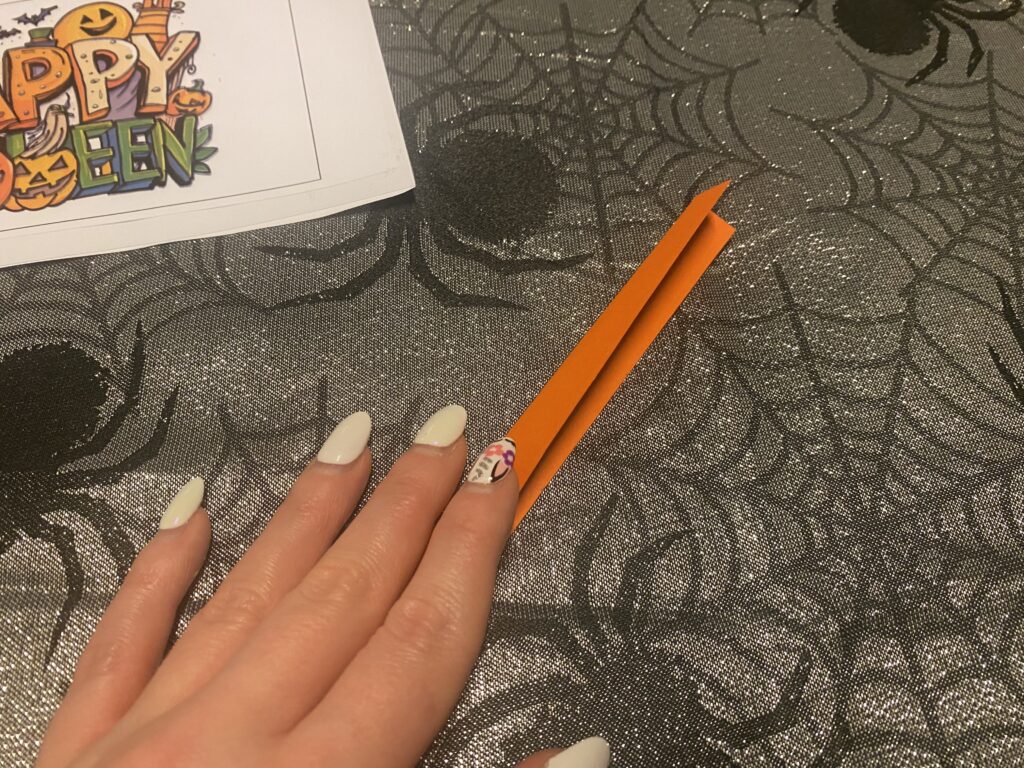
- Put double sided sticky tape on one side and line it up sticking it to the side of the image you just stuck together on the bottom. See images below.
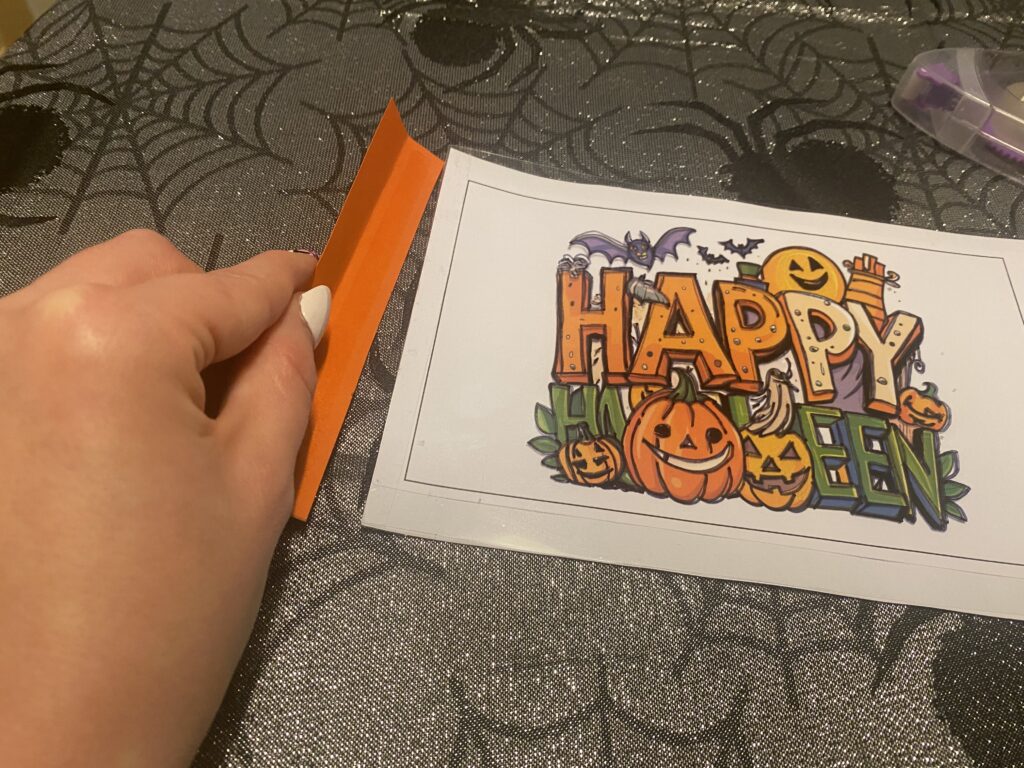
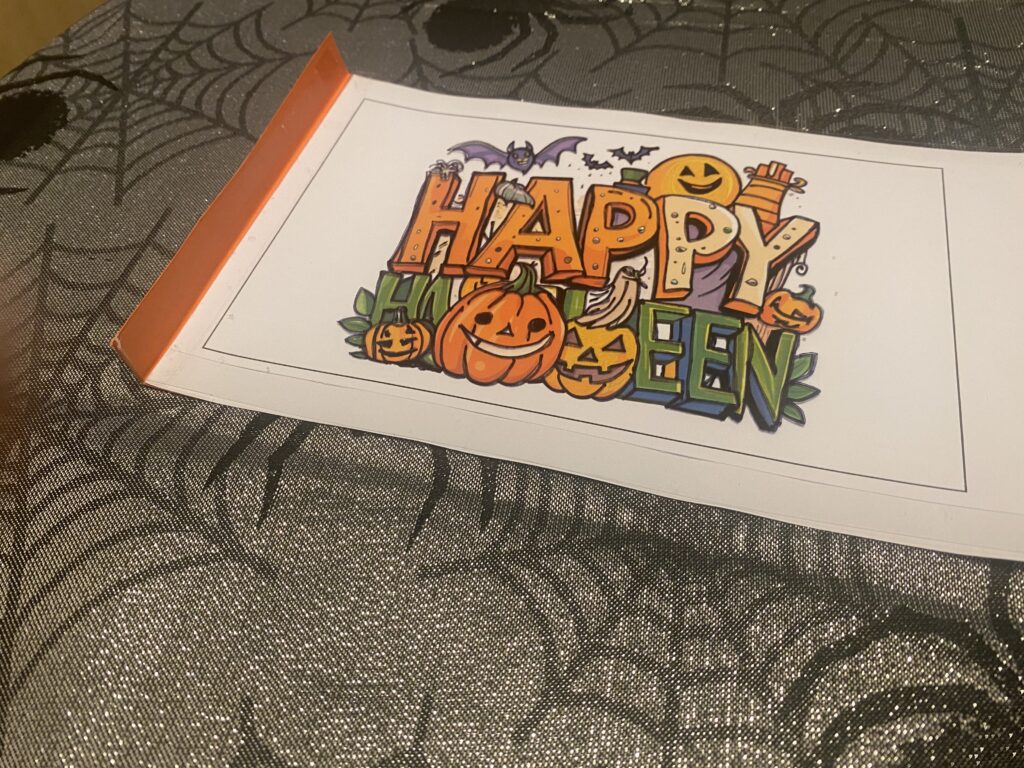
- Repeat above step with tape on the other side and stick down on top on the image.
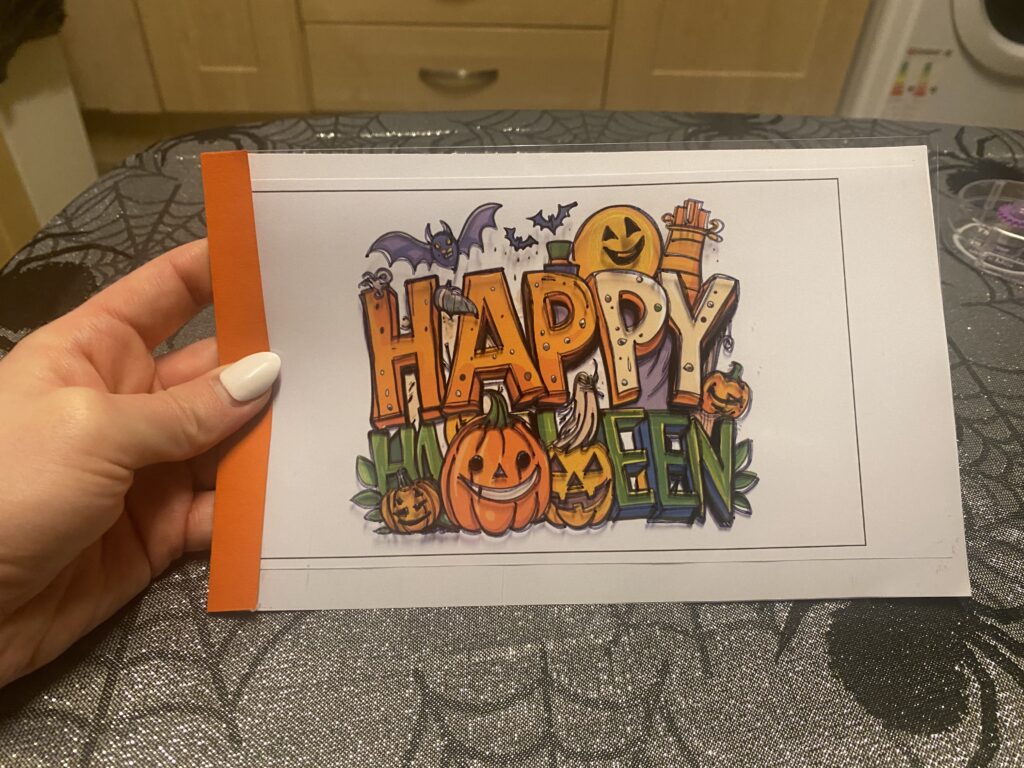
Essentially you have made a little cover on top of the tape join. The first stage of creating this little illusion is complete. Let’s move on to the frame.
Construction of the frame
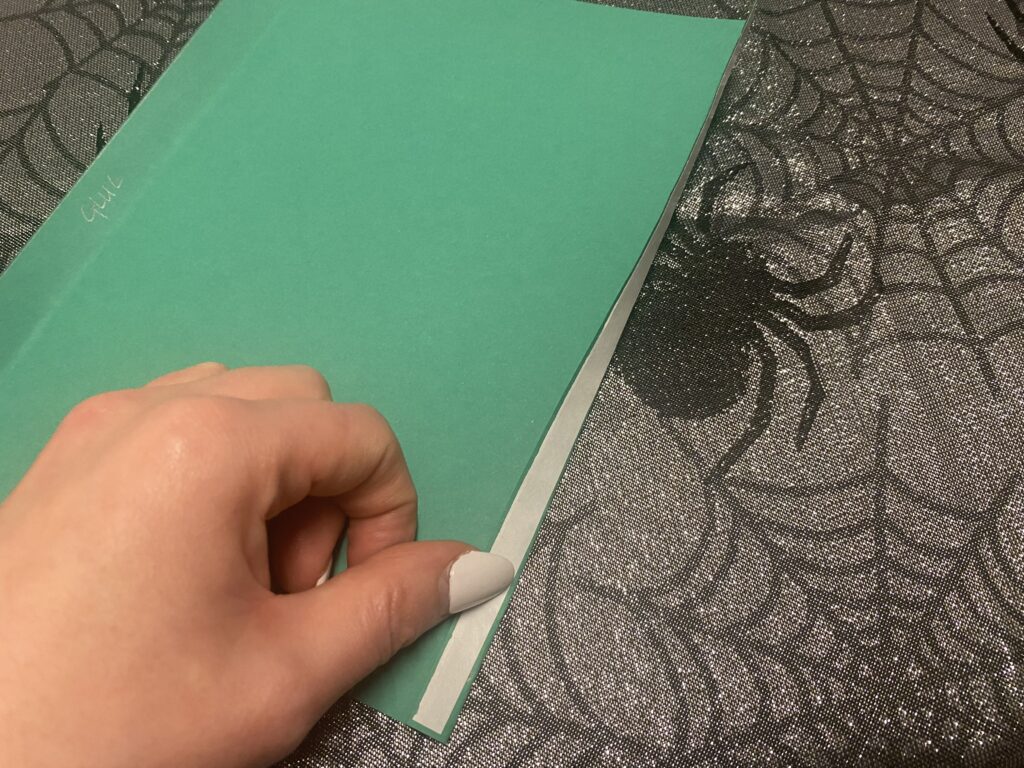
- Take a different coloured A4 page. Firstly, you will need to create a lip to join the frame together later on.
- Fold the a4 sheet not exactly in half but 1 cm short of the entire sheet (see image below. The “lip” is to the left of the image).
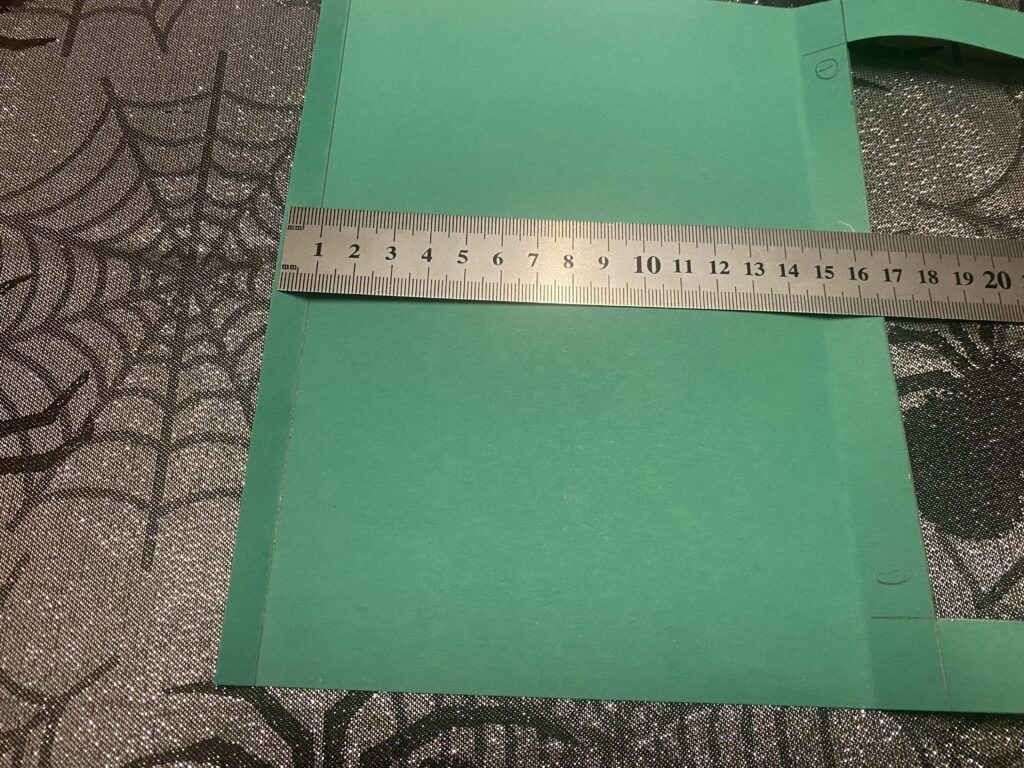
- Fold this inwards up towards you.
- On the outside of the lip put a strip of double sided tape.
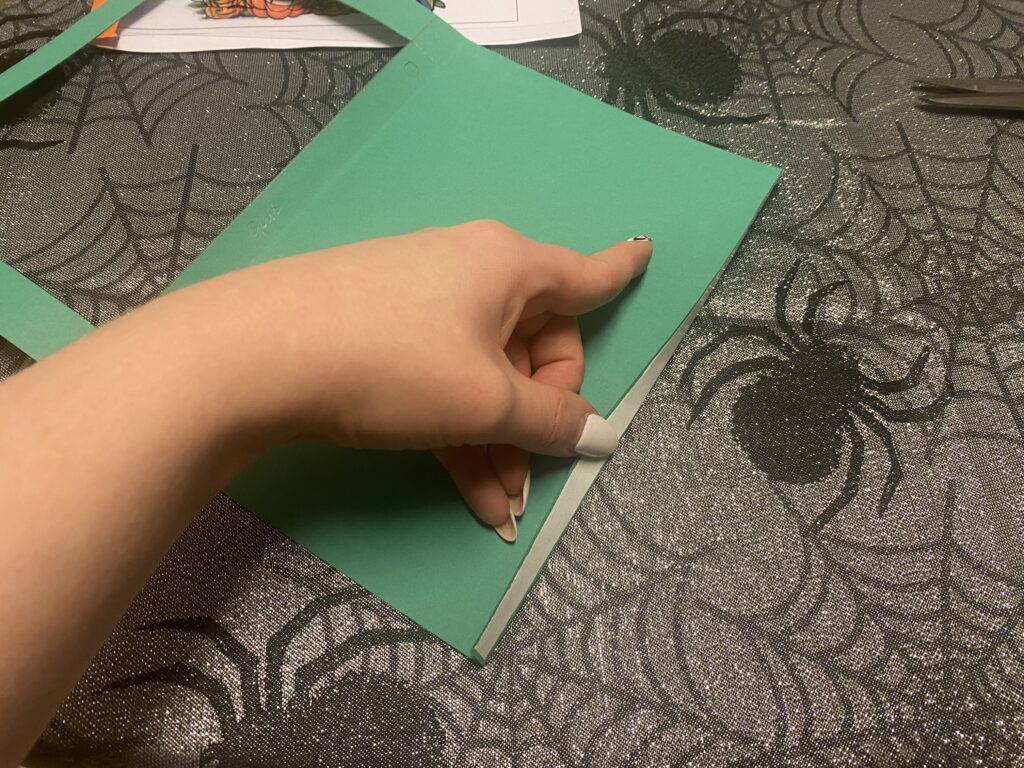
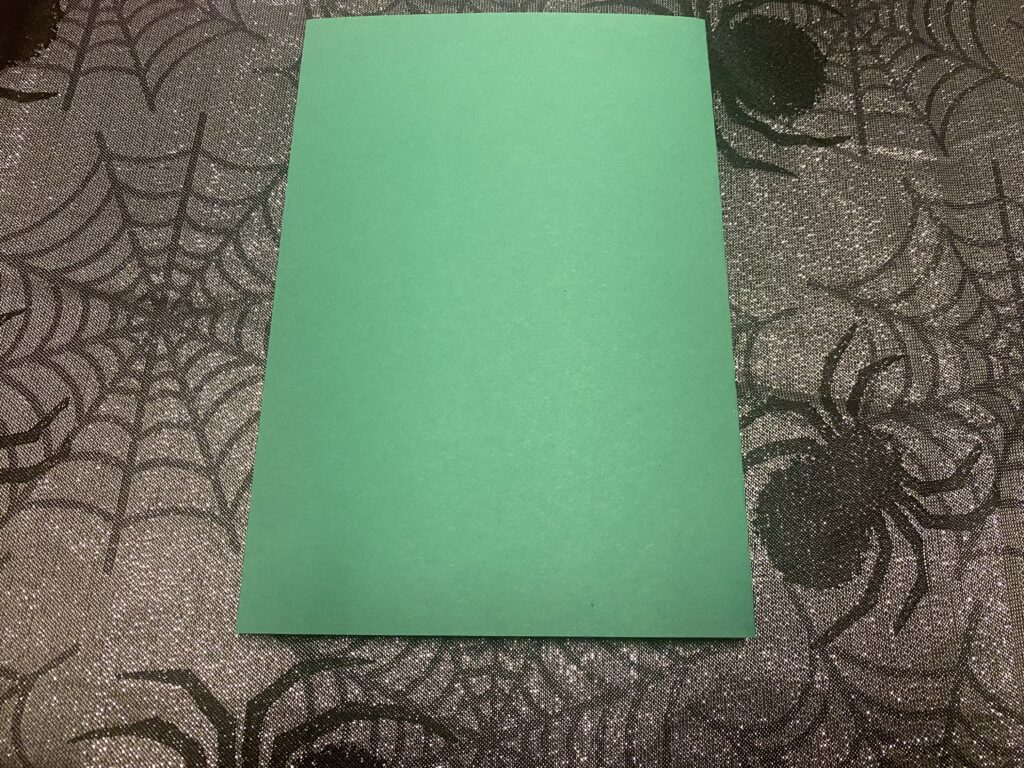
- Next fold rest of the sheet in half. (Not including the lip).
- Now we have to cut a hole in the top half. I cut a rectangle by measuring inwards 2cm’s on all sides. (See image).
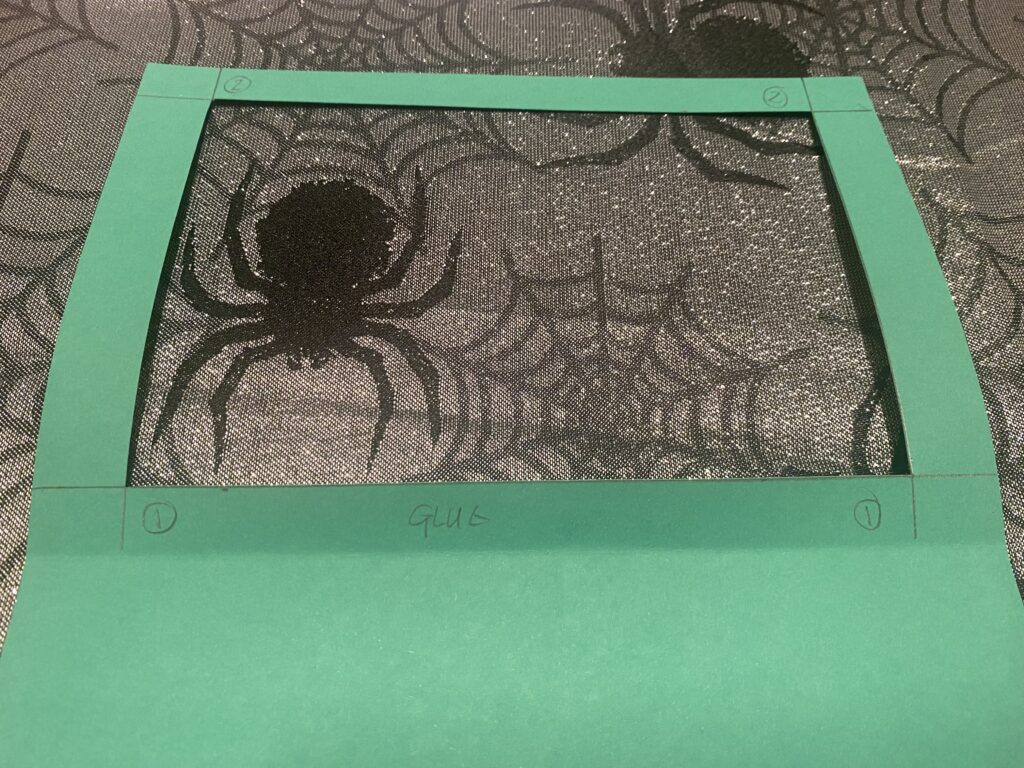
Construction of “The Cover”
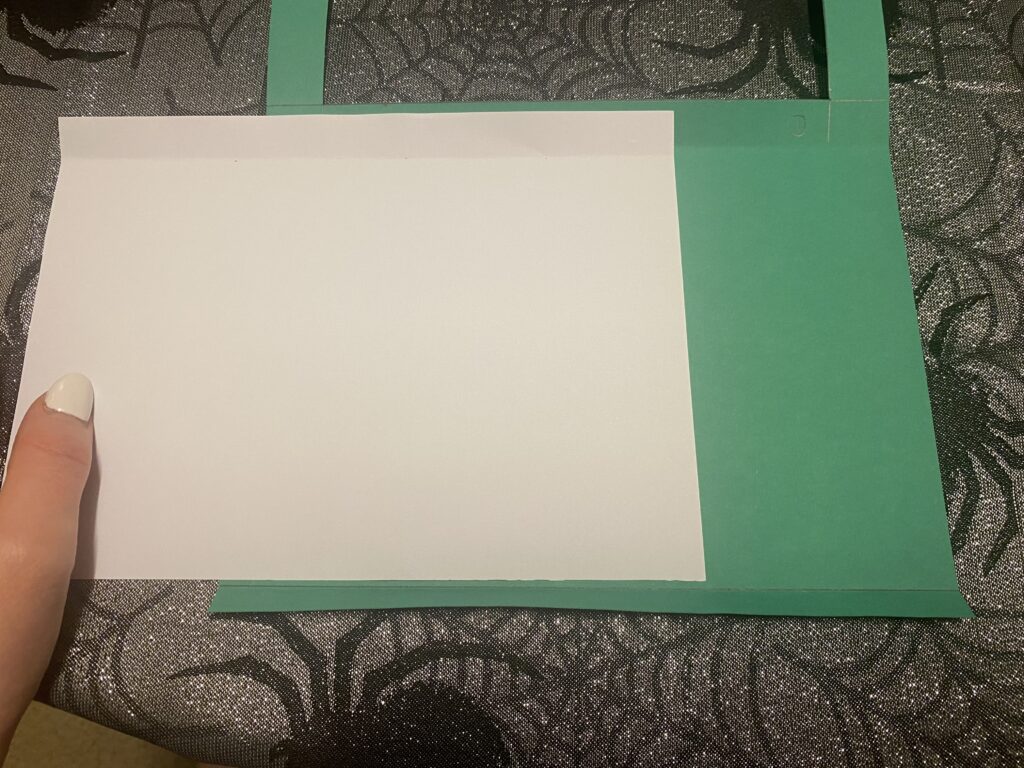
- Take the second sheet of A4 white paper cut to size making sure it fits in the bottom half of the square frame. (As mentioned in the measurements step above. Here is the image again to remind you.

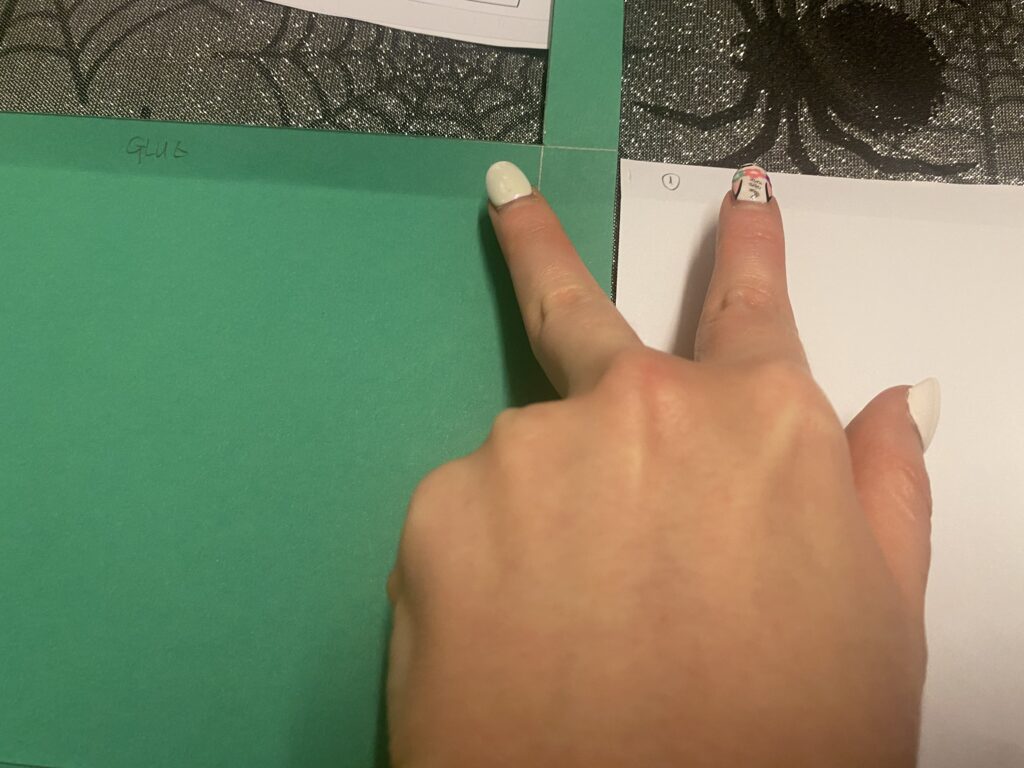
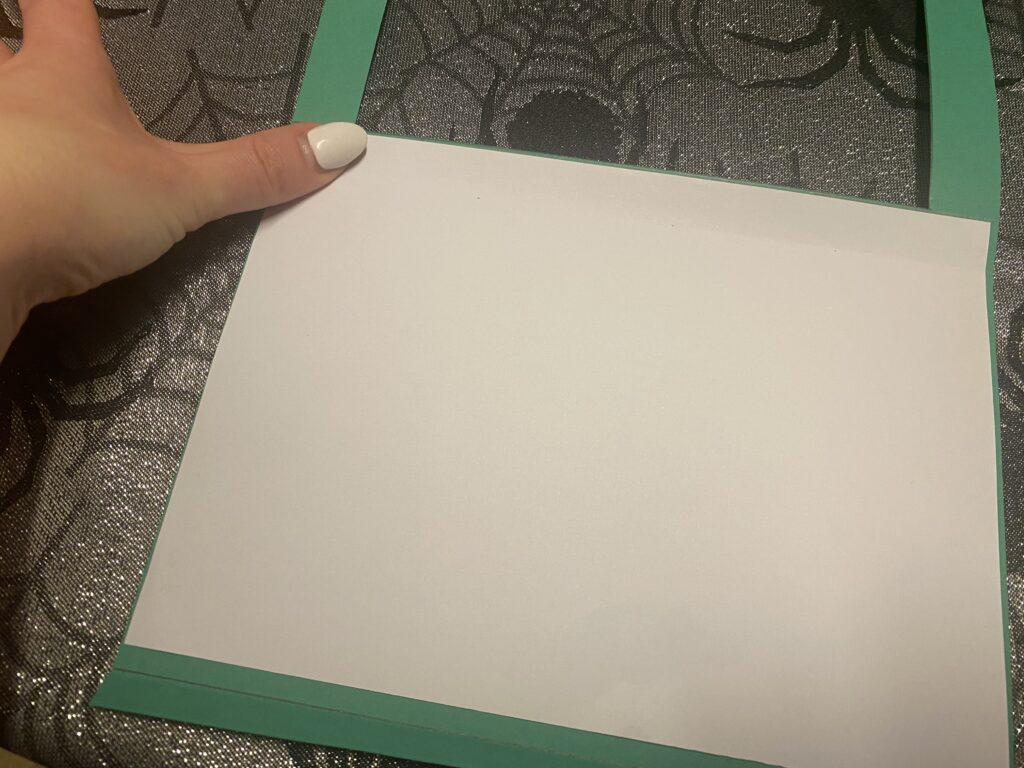
- Glue these two parts together. Matching the two sections at the top fold. The paper should NOT cover the bottom lip!
- Now fold the frame downwards, closing the frame and stick the top (cut out section) to the bottom (the lip you placed double sided stick tape to earlier. Take the time to match these two section up neatly. That is the frame complete. (See images below).
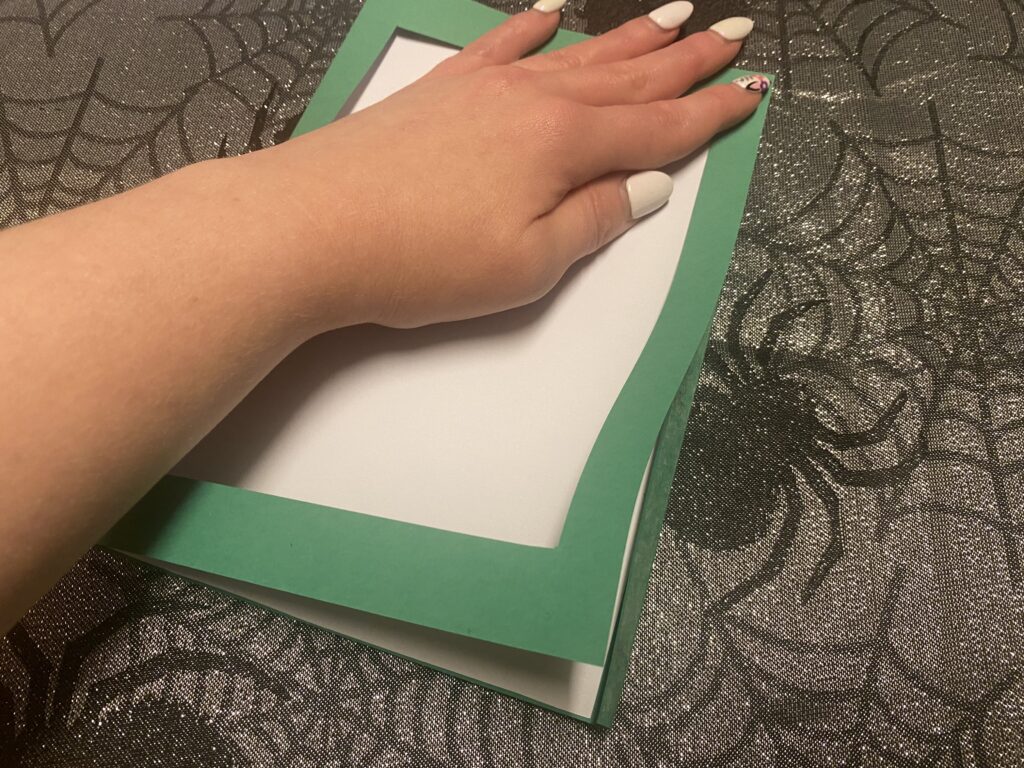
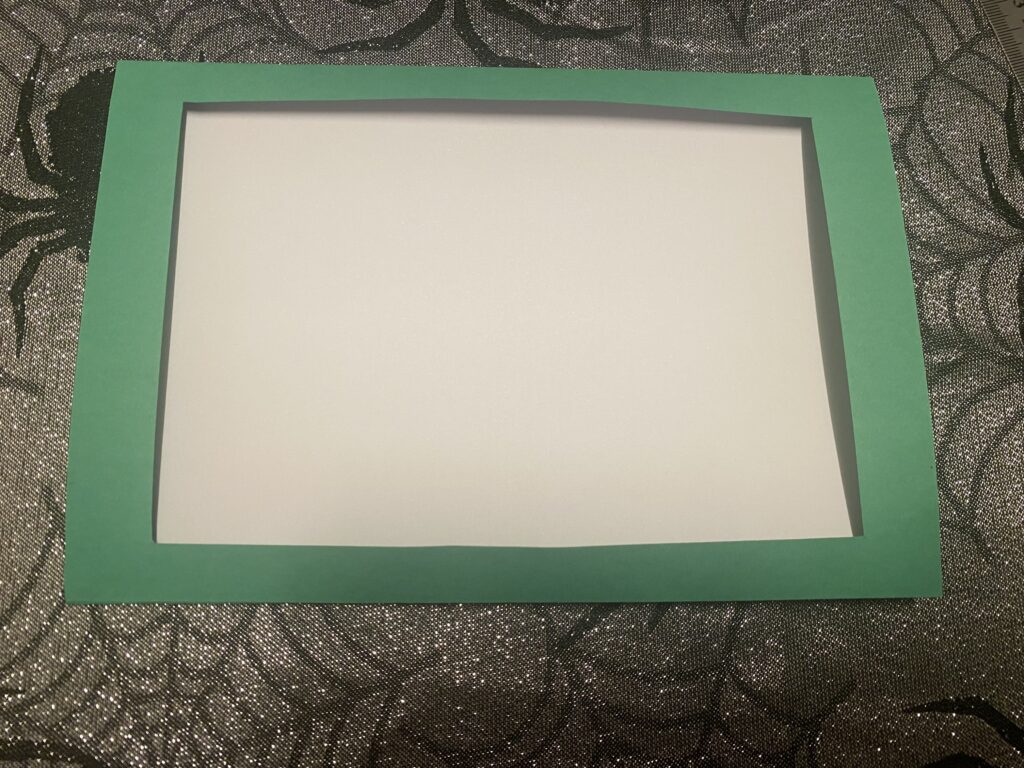
Time to Assemble
- Grab your image “booklet” and place it beside the frame on your table.
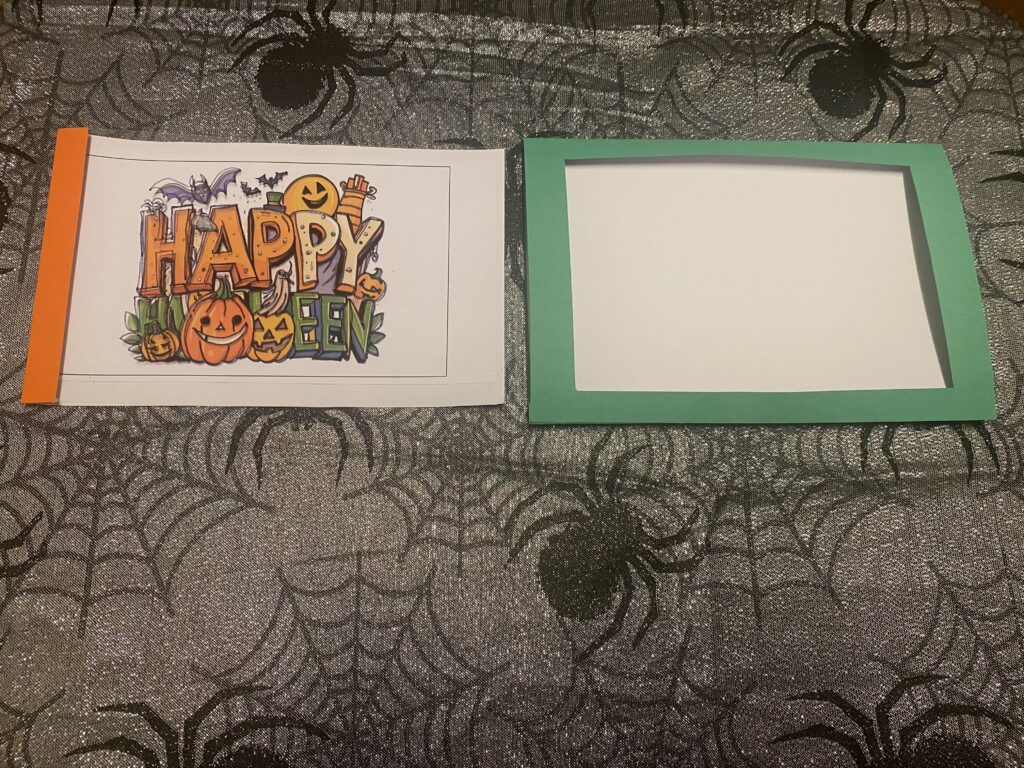
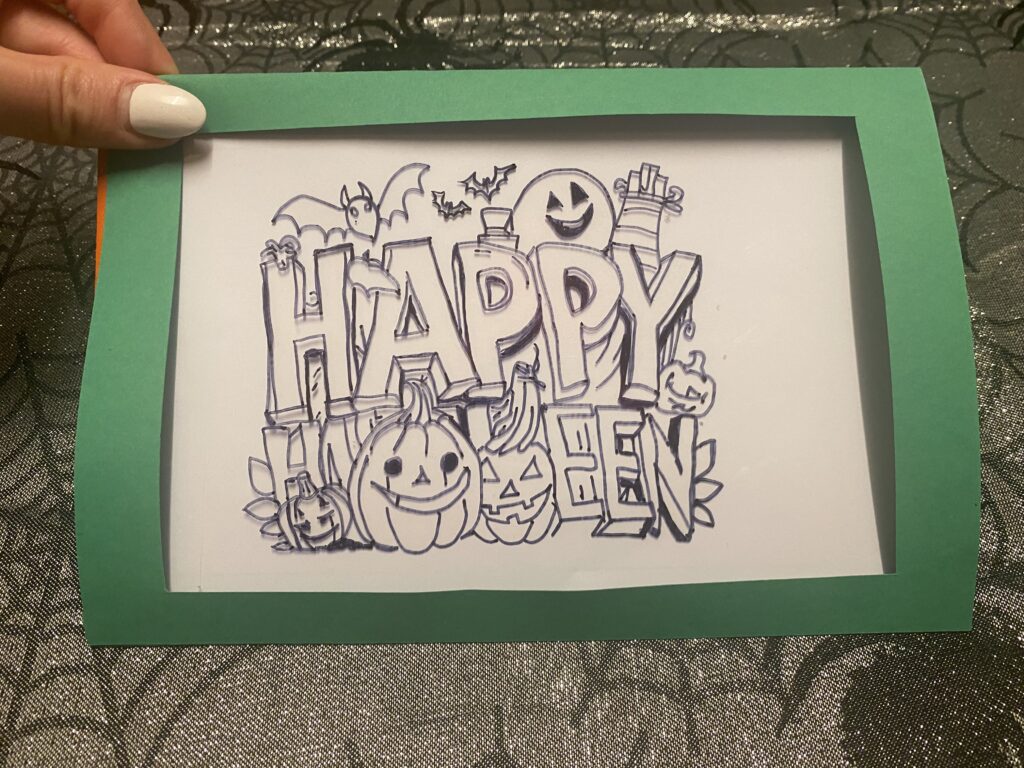
- Insert the picture image into the slot furthest back. I.e. behind the attached paper in the frame and the PVC sheet with traced image on above the attached paper. I.e. the slot foremost to the front. But still under the frame.
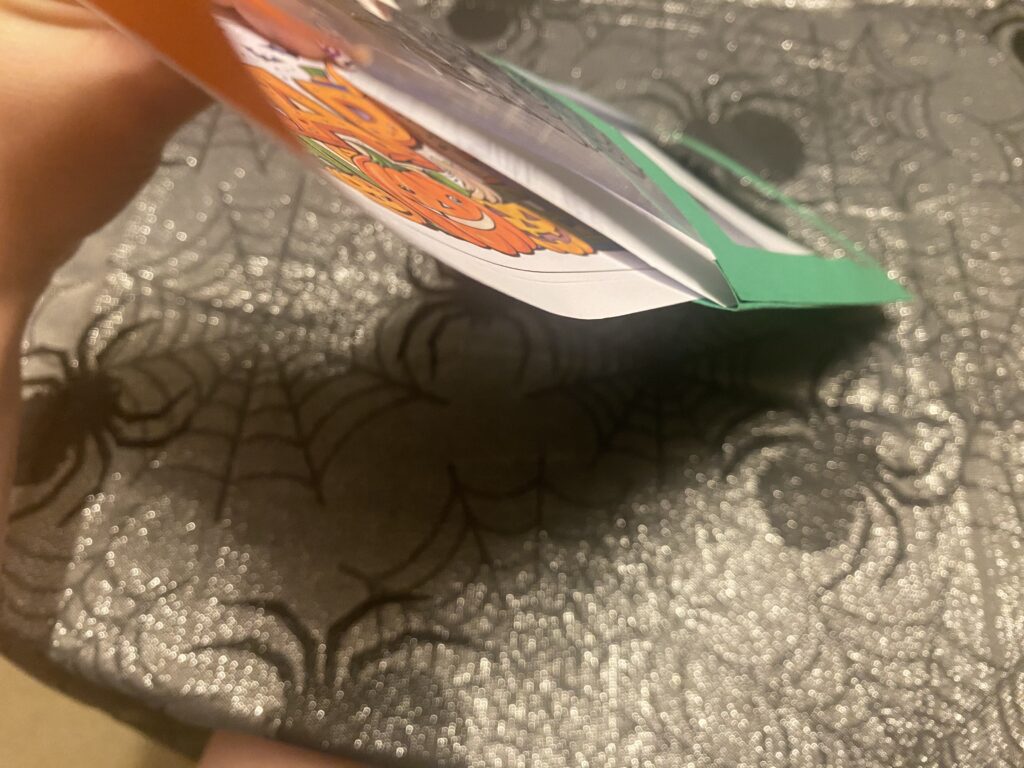
As the coloured image is now covered by A4 sheet, all you can see is the traced outline.
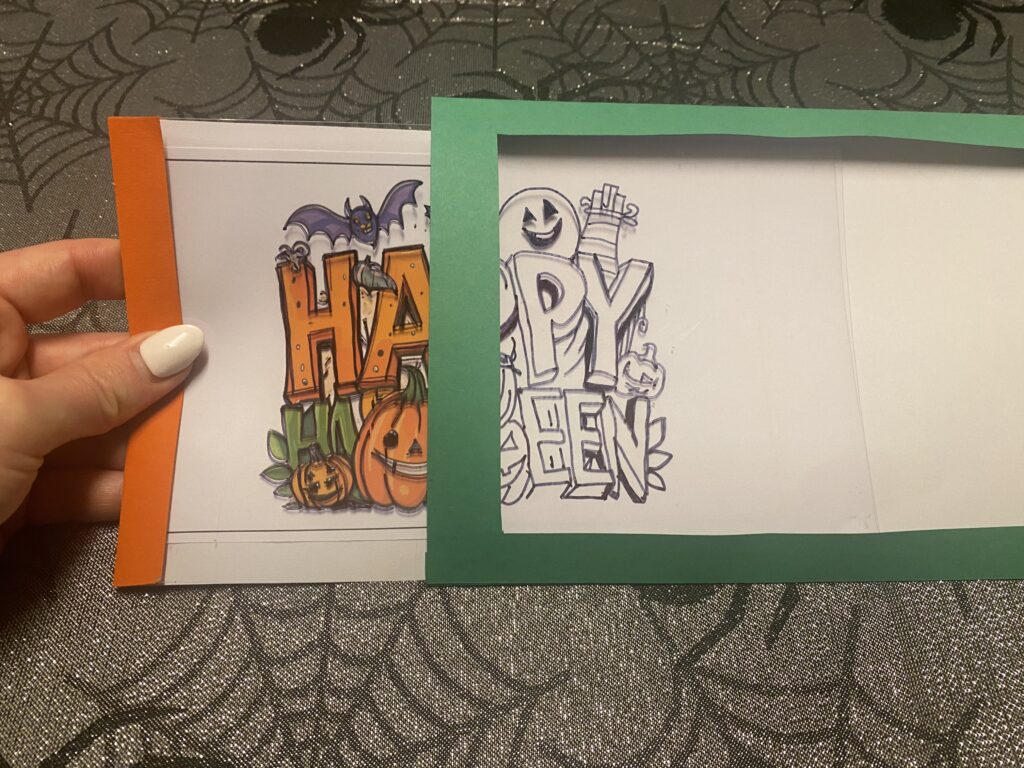
By pulling it out by the handles (the two sheet of paper and PVC at once), the traced drawing and the coloured image line up.
And it appears as if the picture magically colours in.*
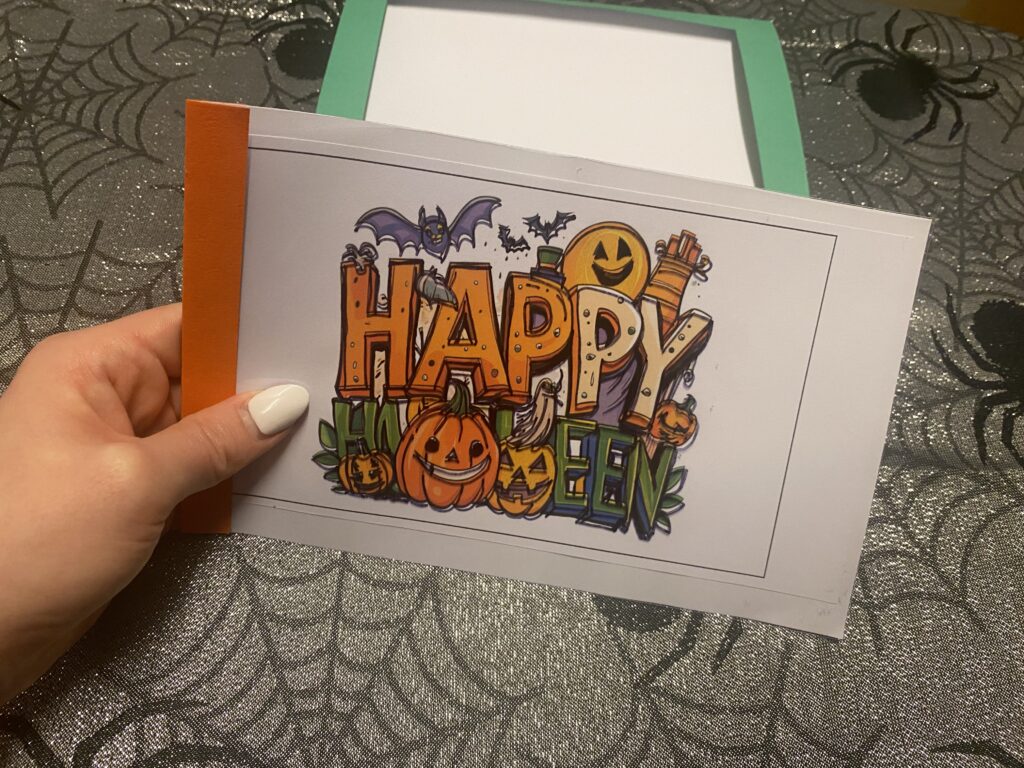
*I apologise this was a rather complex design so you can see the two image don’t quite align in places. But you get the idea.
Here is a video of one I made earlier (also quite complex) but you can see how this little trick works in real life.
I hope you enjoyed this blog.
It took so long to do. But I think it’s worth it to make sure we know where the tricks we perform come from and give credit where it is due
Happy Halloween!

Another great blog entry!! I very much agree with your thoughts on secrecy vs. spreading wonder and magic!
I love it! I want to make one now!